Bluetooth speaker - Part 1 - Introduction
written on Wednesday, December 25, 2019
This article is the first of a series on creating a Bluetooth speaker from an old vacuum tube radio and spare parts I had lying around in the house.
- Part 1: Introduction
- Part 2: Attempting to update the audio hardware
- Part 3: Using an existing Bluetooth speaker
- Part 4: Frontend work
- Part 5: Electronics, take 3
At the time I am writing this, the speaker is not done yet, so there is still a chance that I never finish it... As you will see, the journey so far as not been straight, I hit a few roadblocks and changed my mind while working on this project.
Let's start with the reason I started this project. When we moved in our house, more than a decade ago, I found this old vacuum tube radio left around by the previous owner:
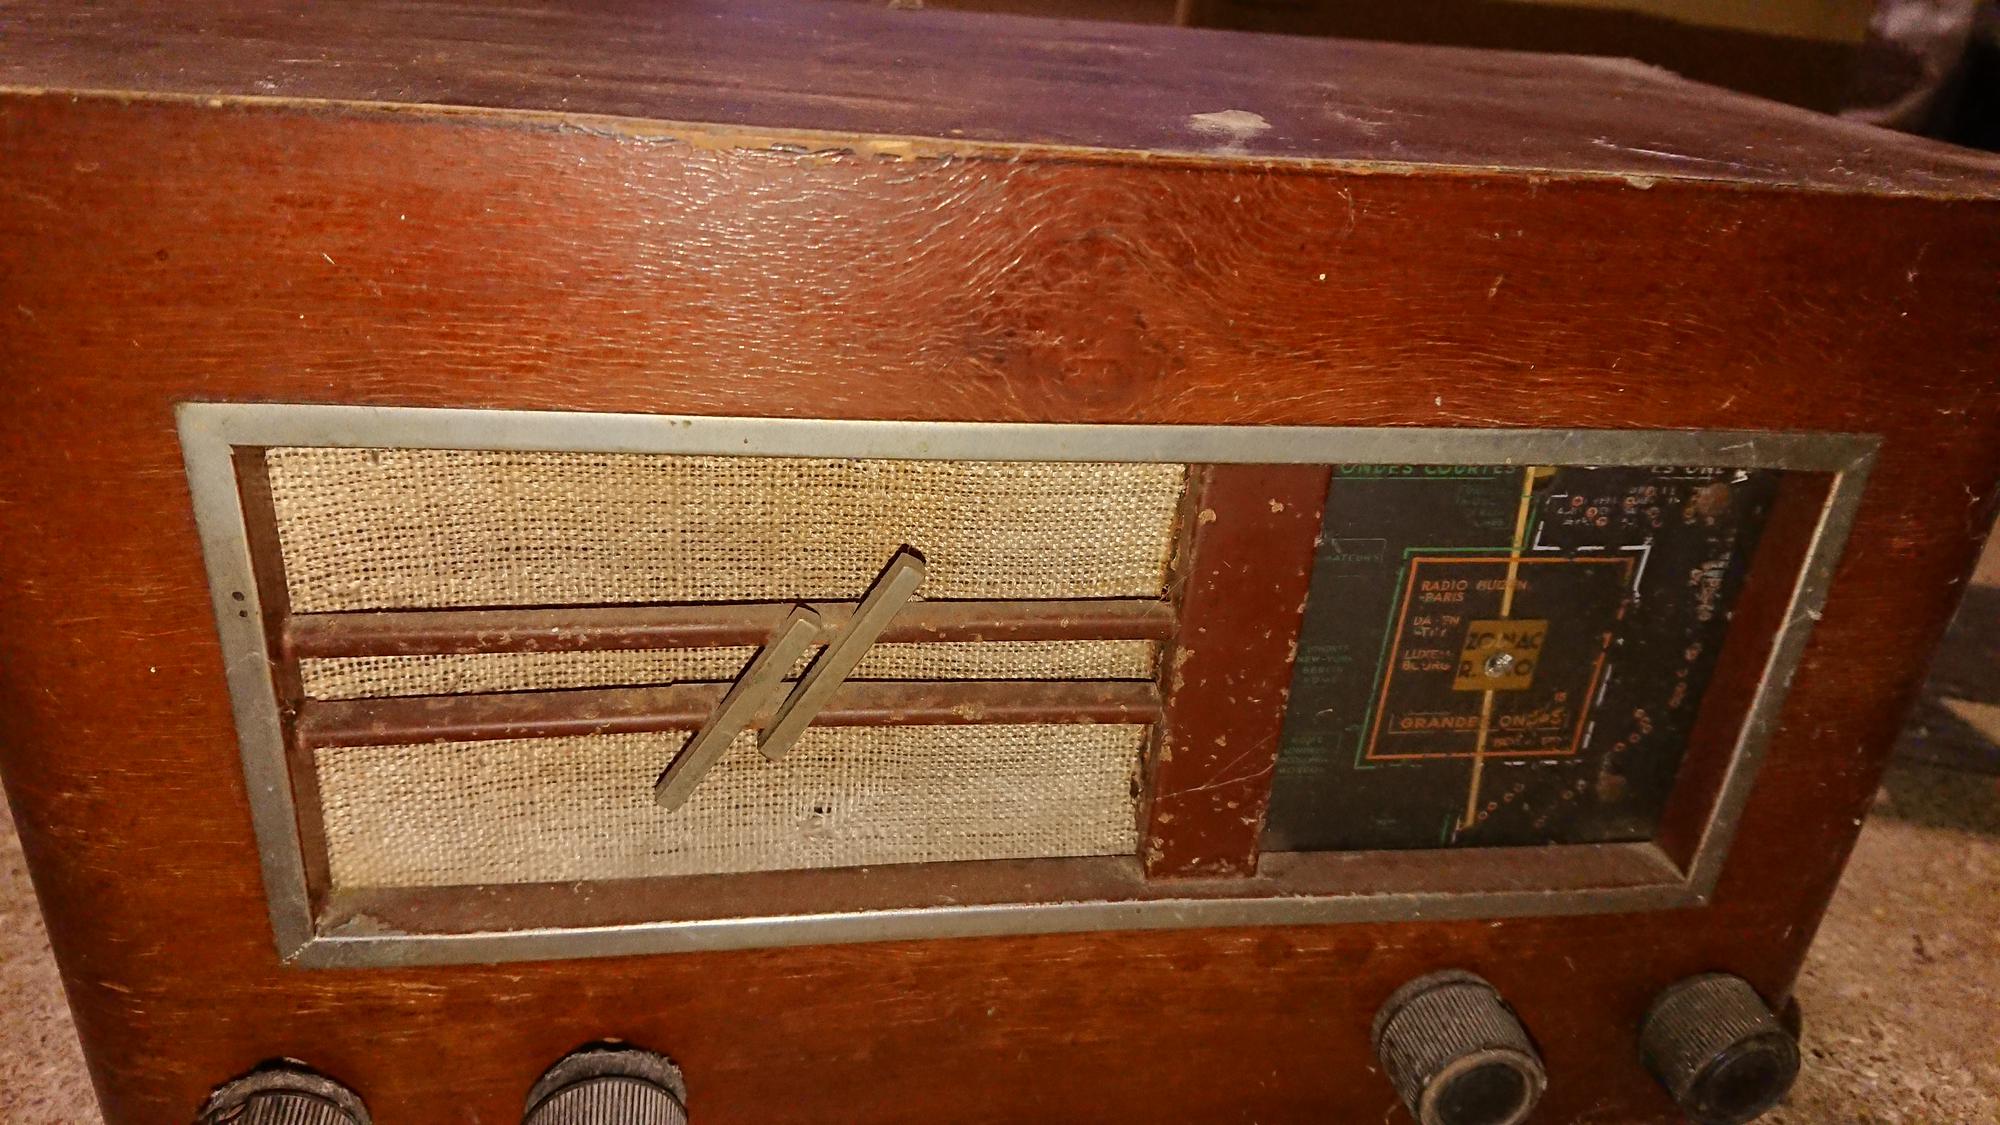
I have always wanted to make something out of it, but never took the time to do so, until last month.
I initially wanted to restore the existing electronics but after a quick inspection of the internals, learning a lot about the necessary skills to achieve such a restoration and the dangers of working with vacuum tube radio, I decided I would only keep the beautiful wood case. I felt a bit bad about it, so I carefully removed all the parts I would not use and stored it in a box, in case I decide to revisit this later or to donate it to someone with the knowledge to bring this radio back to life. For this reason I am also going to try to avoid drilling any holes in the case, to keep it in its original state.
Disassembly
Here are some pictures of the disassembly:


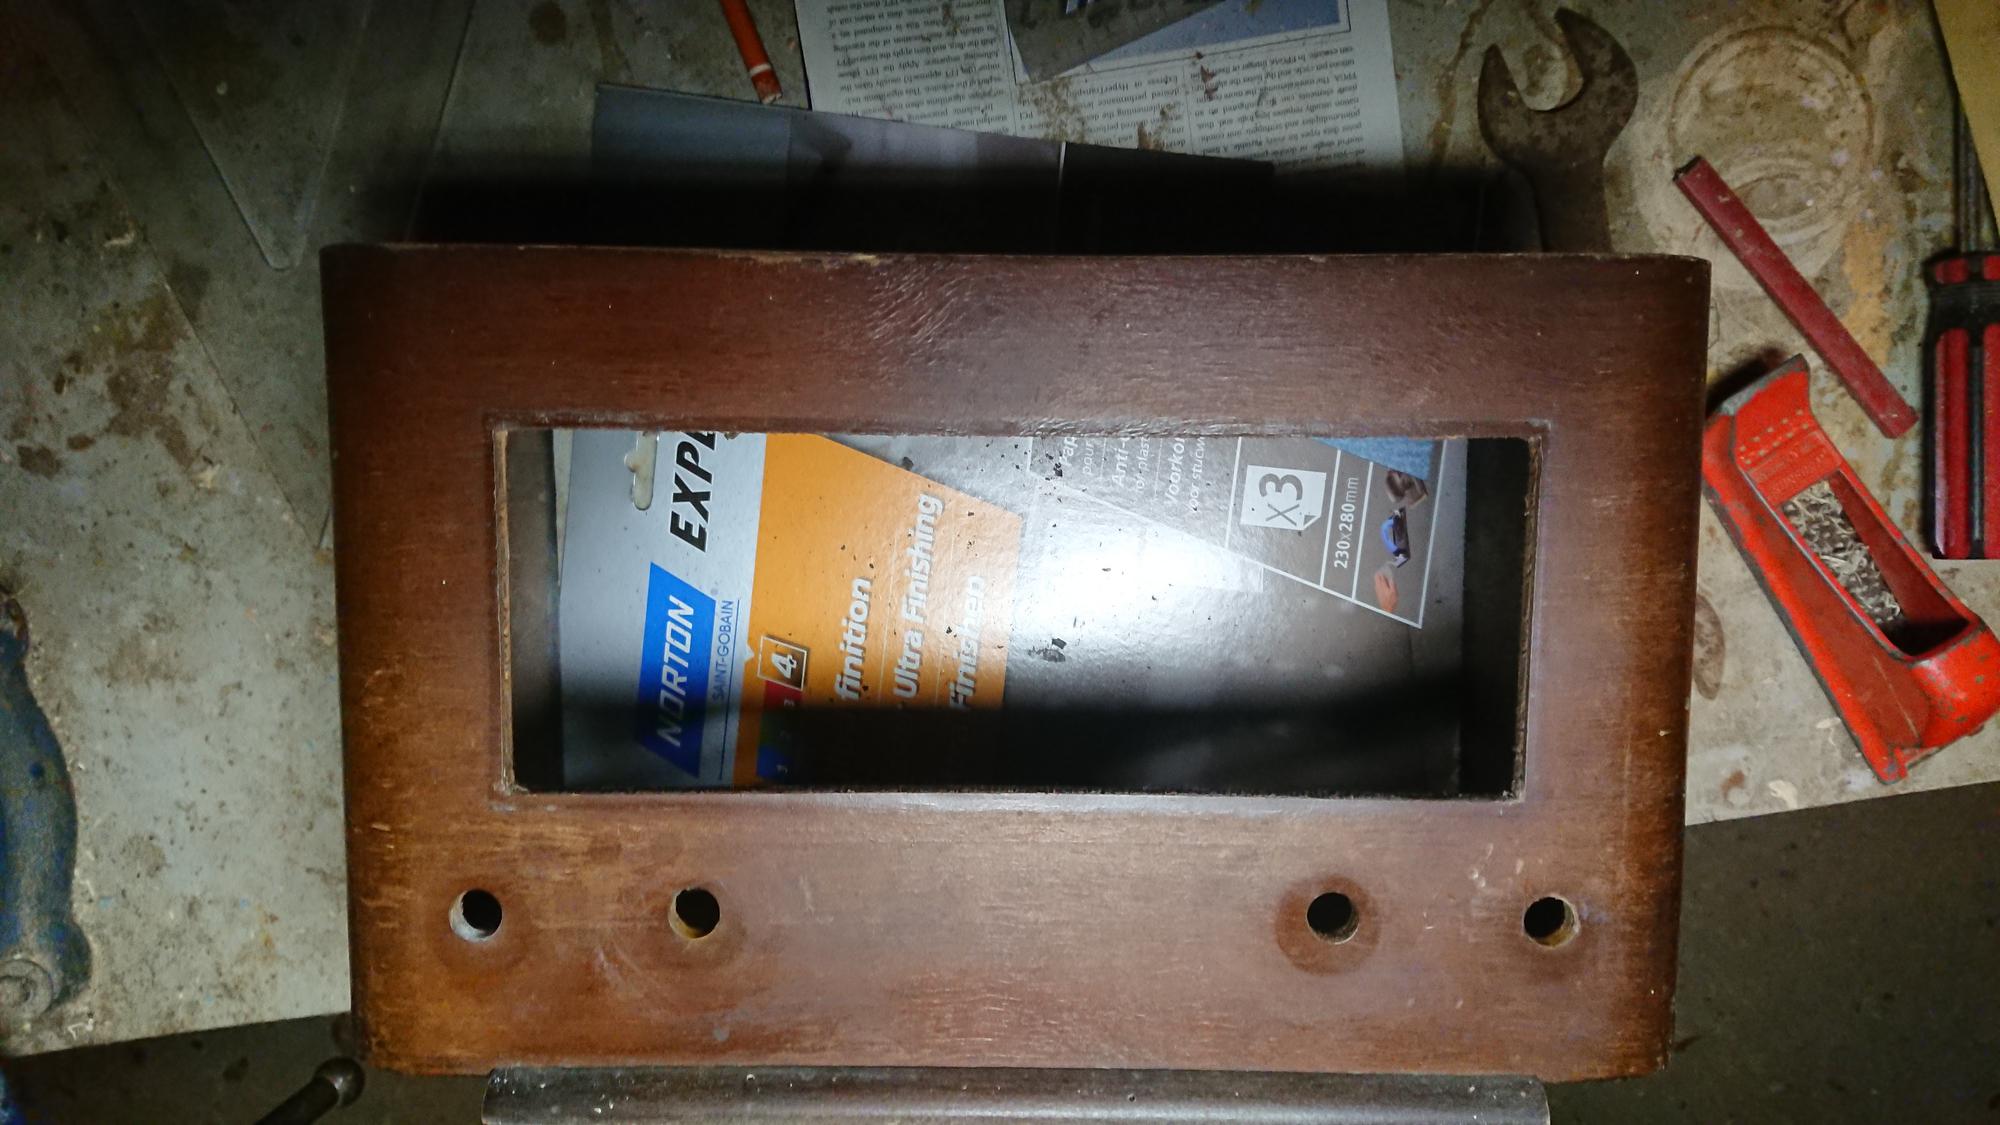

Note the three holes in the bottom of the case. I don't know if they were there originally, but I am going to make use of them to fix my home made chassis without drilling new holes.
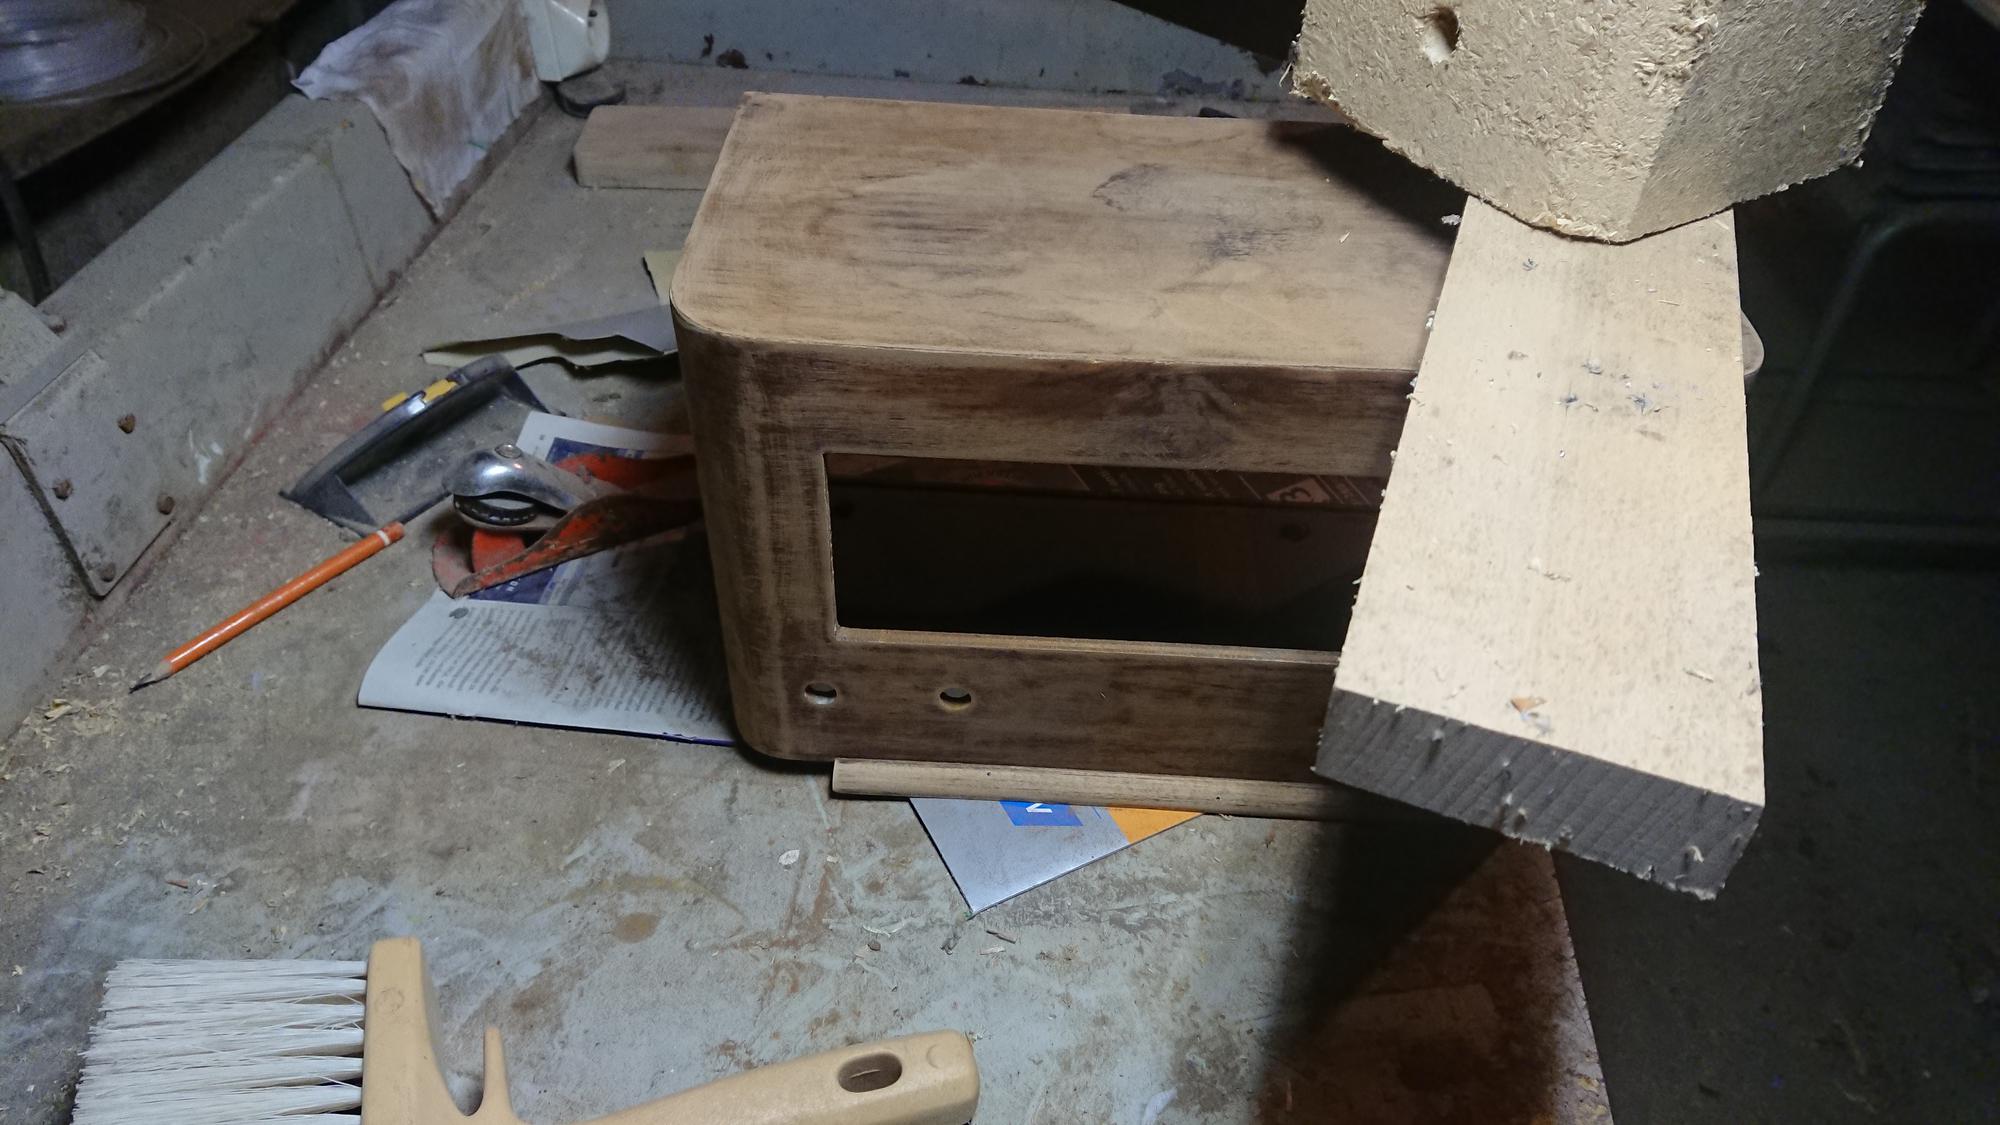
Sanding
Once I had a naked case, I sanded it, and used glue to repair some parts of the top which were going away:
Staining and varnishing
After one coat of staining and one coat of varnishing, it started to look nicer:
But then, while I was sanding again the case before applying a second coat of varnish, I noticed there were some varnish runs, so I sanded stronger in that area, but that removed the stain :(. Back to square one: sand again the varnish, stain again, apply a first coat of varnish being extra careful not to produce new runs, lightly sand and apply a second coat of varnish.
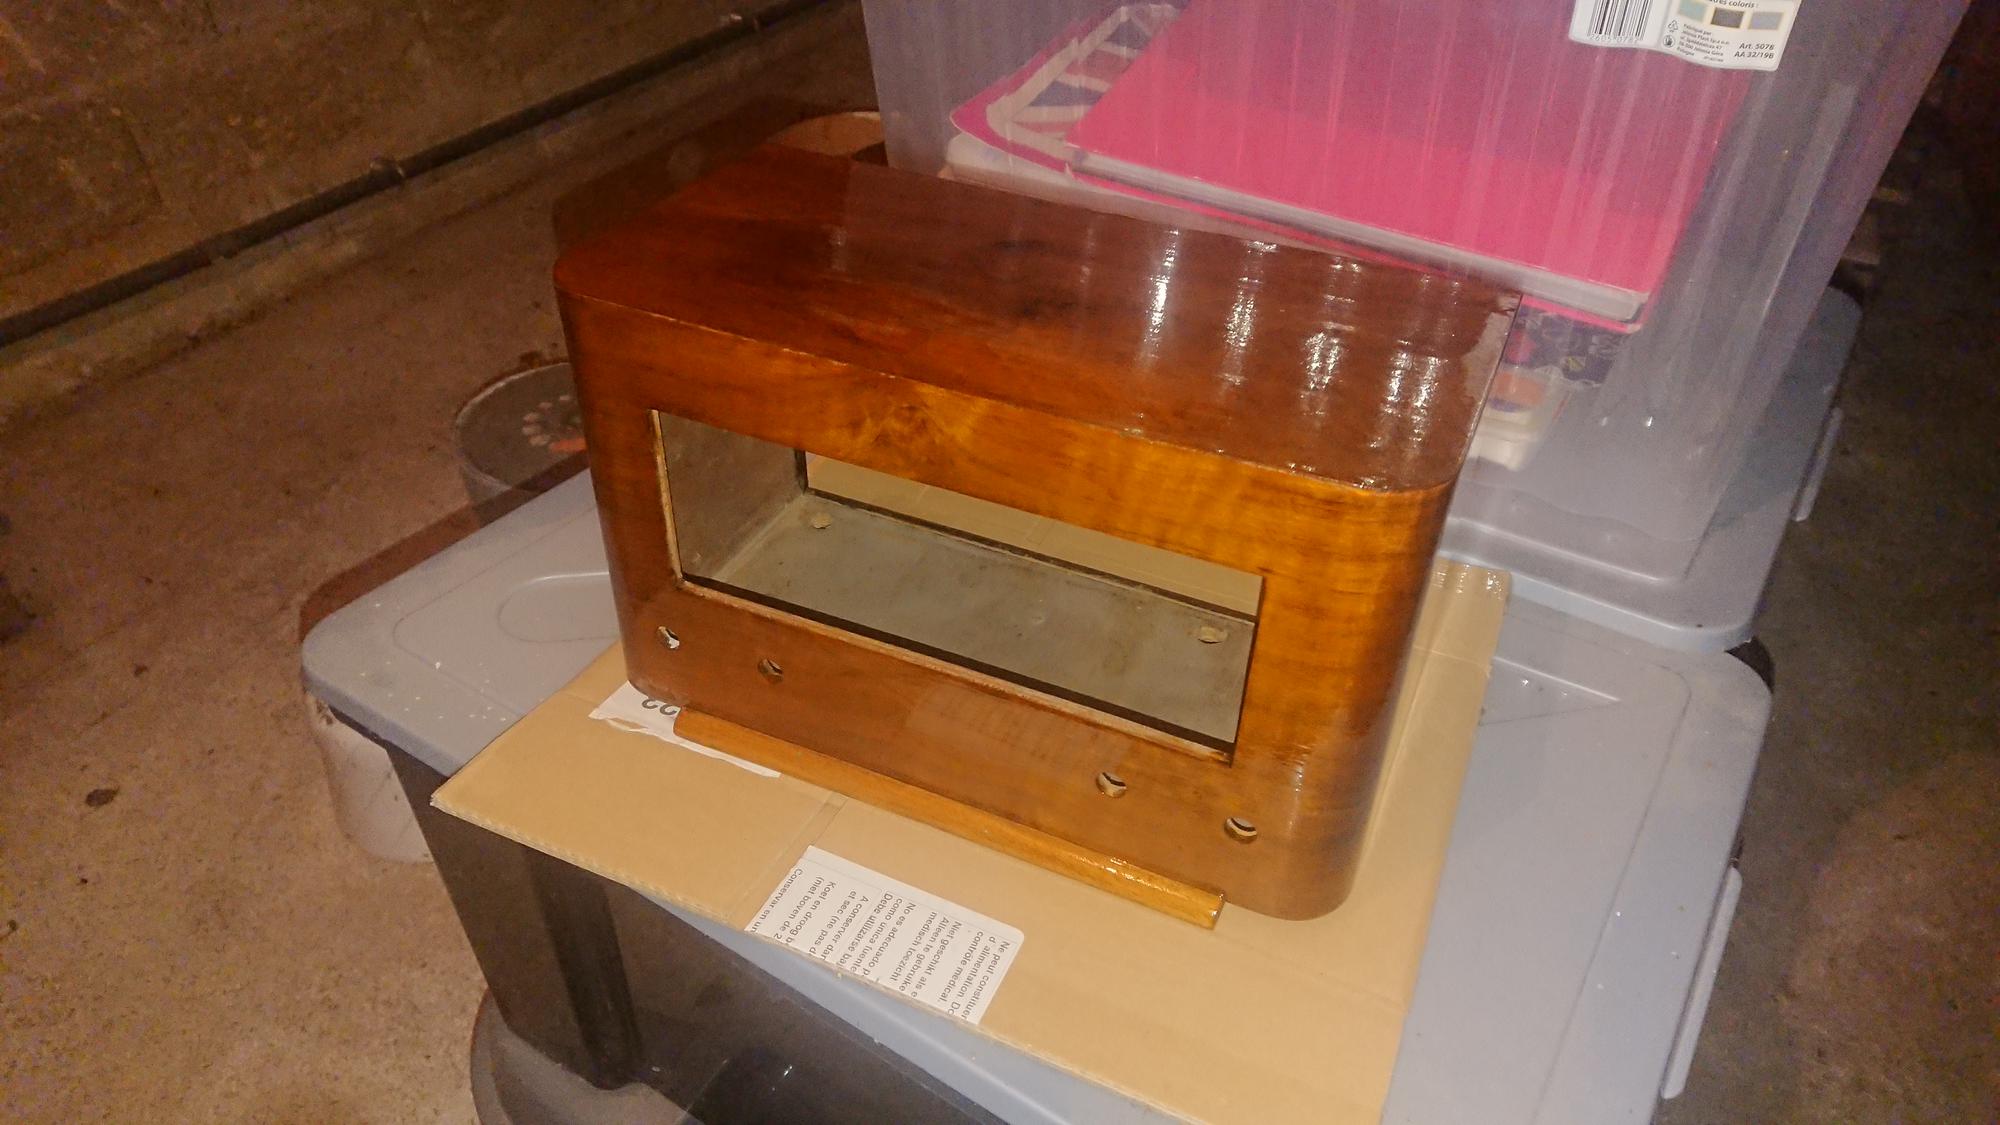
After these two coats it looked like this:
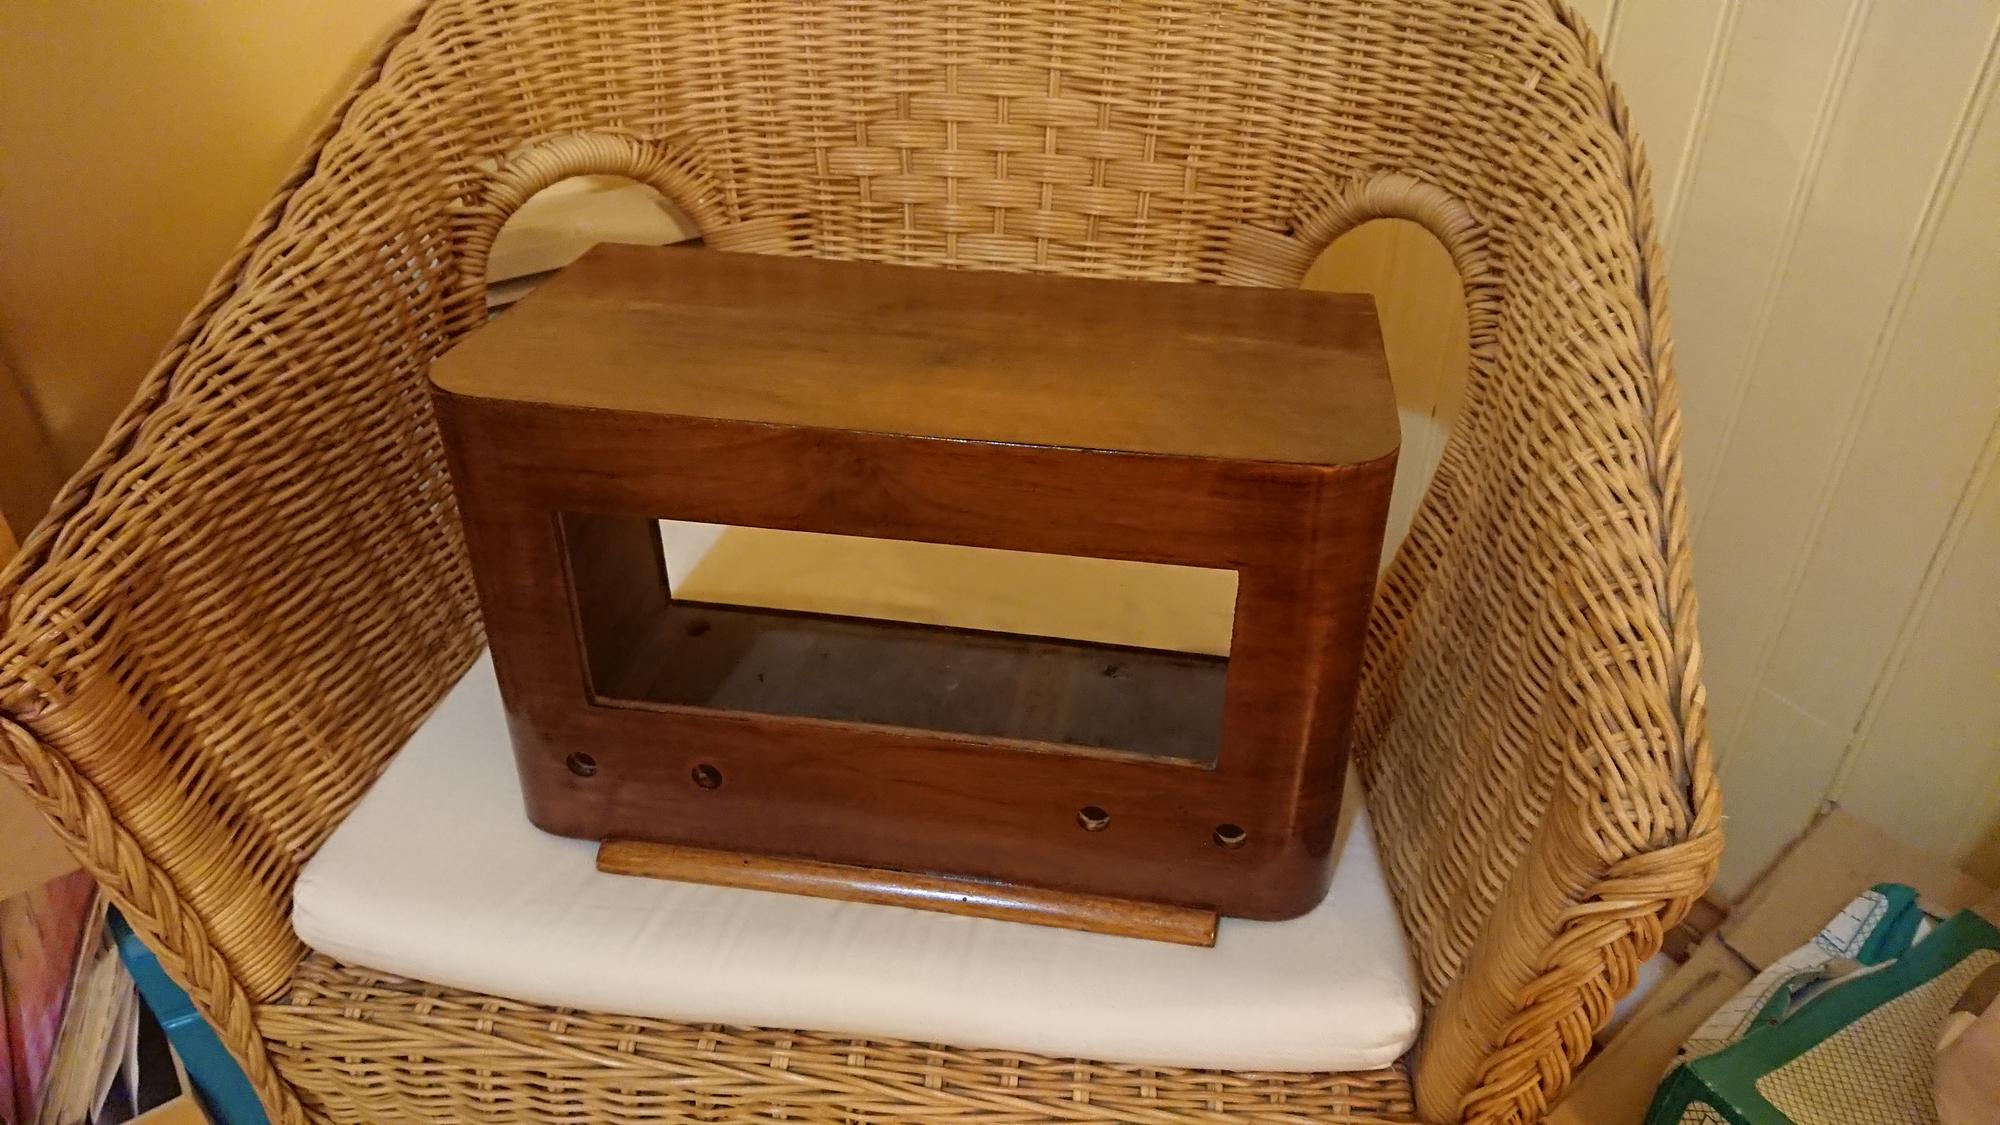
Looks good enough for now. I might apply a third coat, to make it shiner. We'll see.
That's it for this first article, continue to part 2.