Bluetooth Speaker - Part 4 - Frontend work
written on Sunday, January 26, 2020
This article is part of a series on creating a Bluetooth speaker from an old vacuum tube radio and spare parts I had lying around in the house.
- Part 1: Introduction
- Part 2: Attempting to update the audio hardware
- Part 3: Using an existing Bluetooth speaker
- Part 4: Frontend work
- Part 5: Electronics, take 3
So, while I was waiting for the components I ordered at the end of part 3 to arrive, I spent some time working on the "frontend": the front panel of the radio.
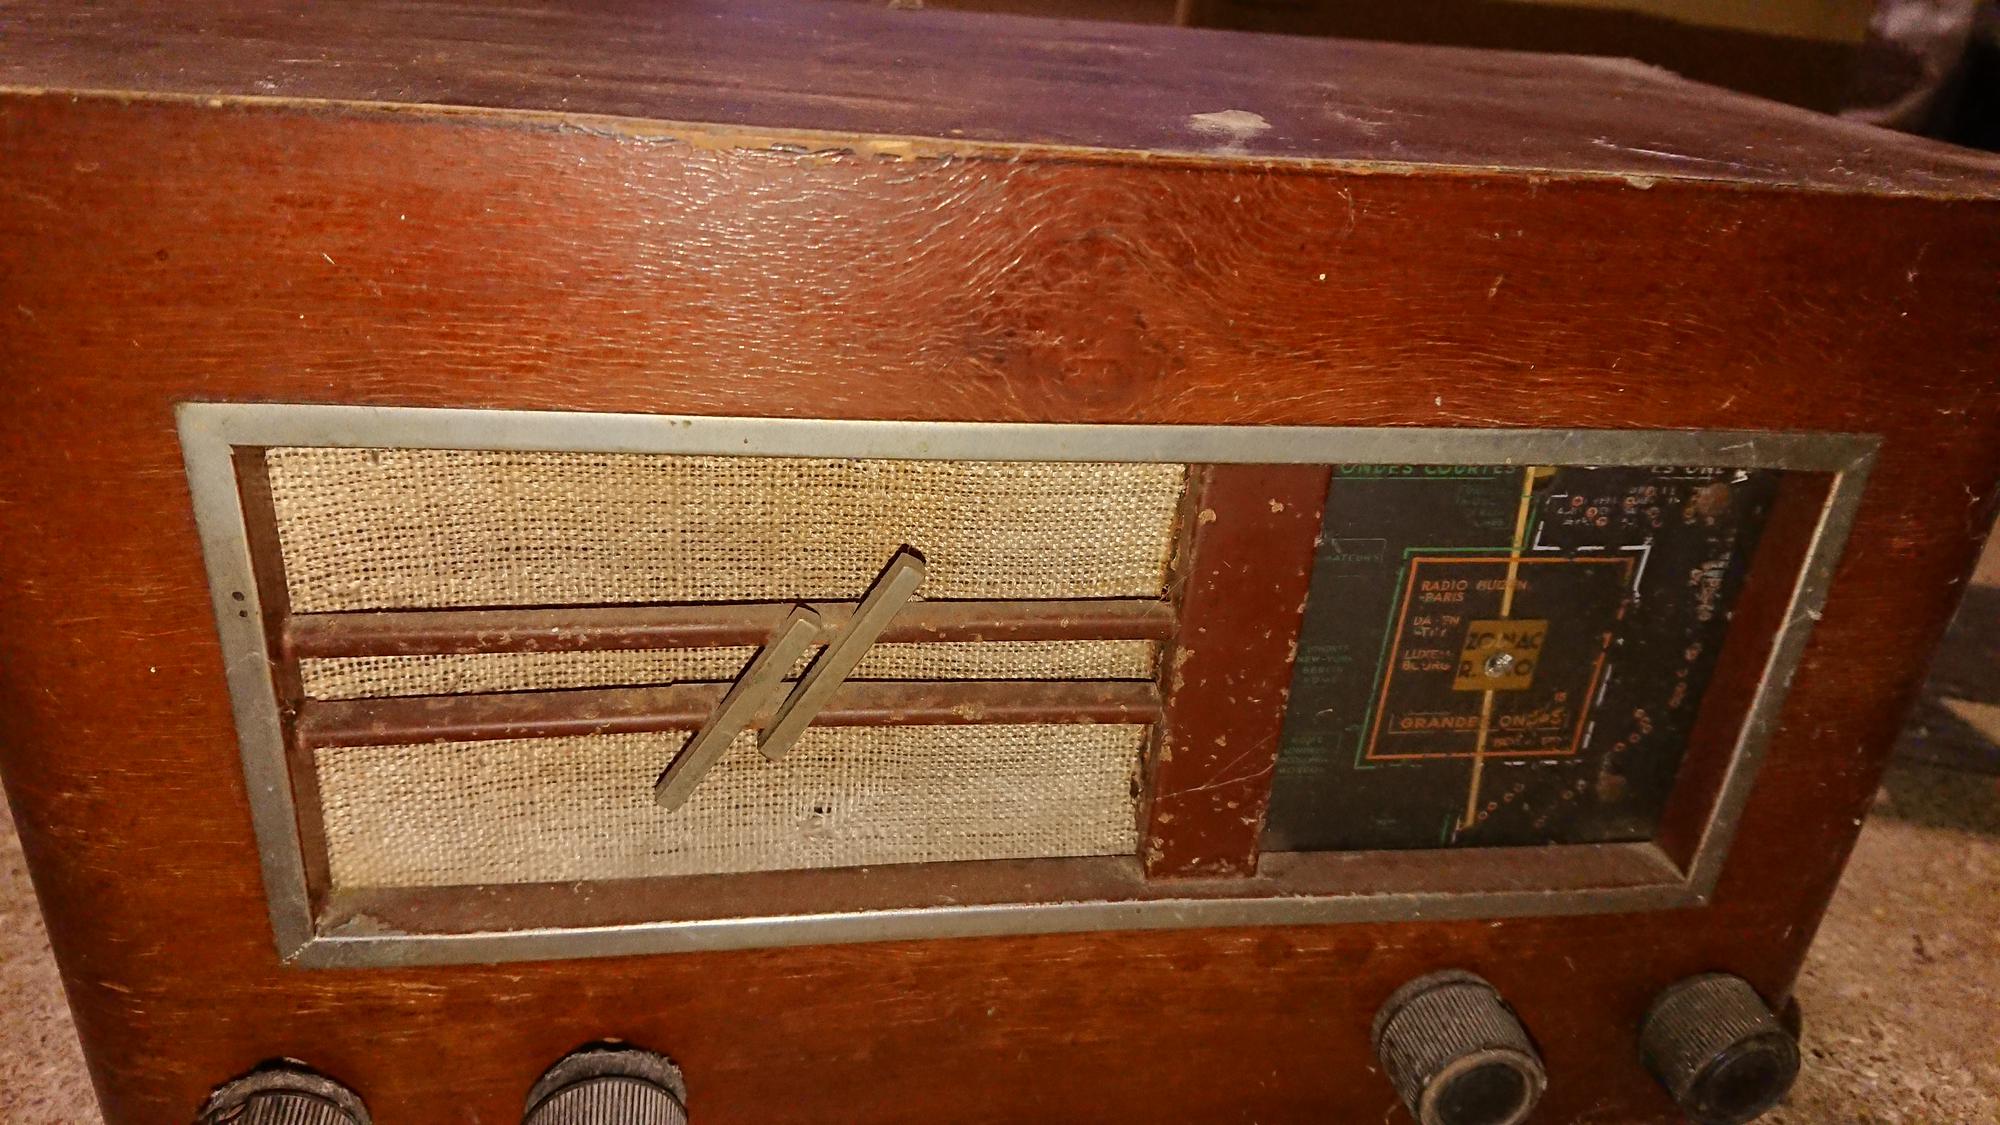
In case you forgot, this is what the original front panel looked like at the beginning:
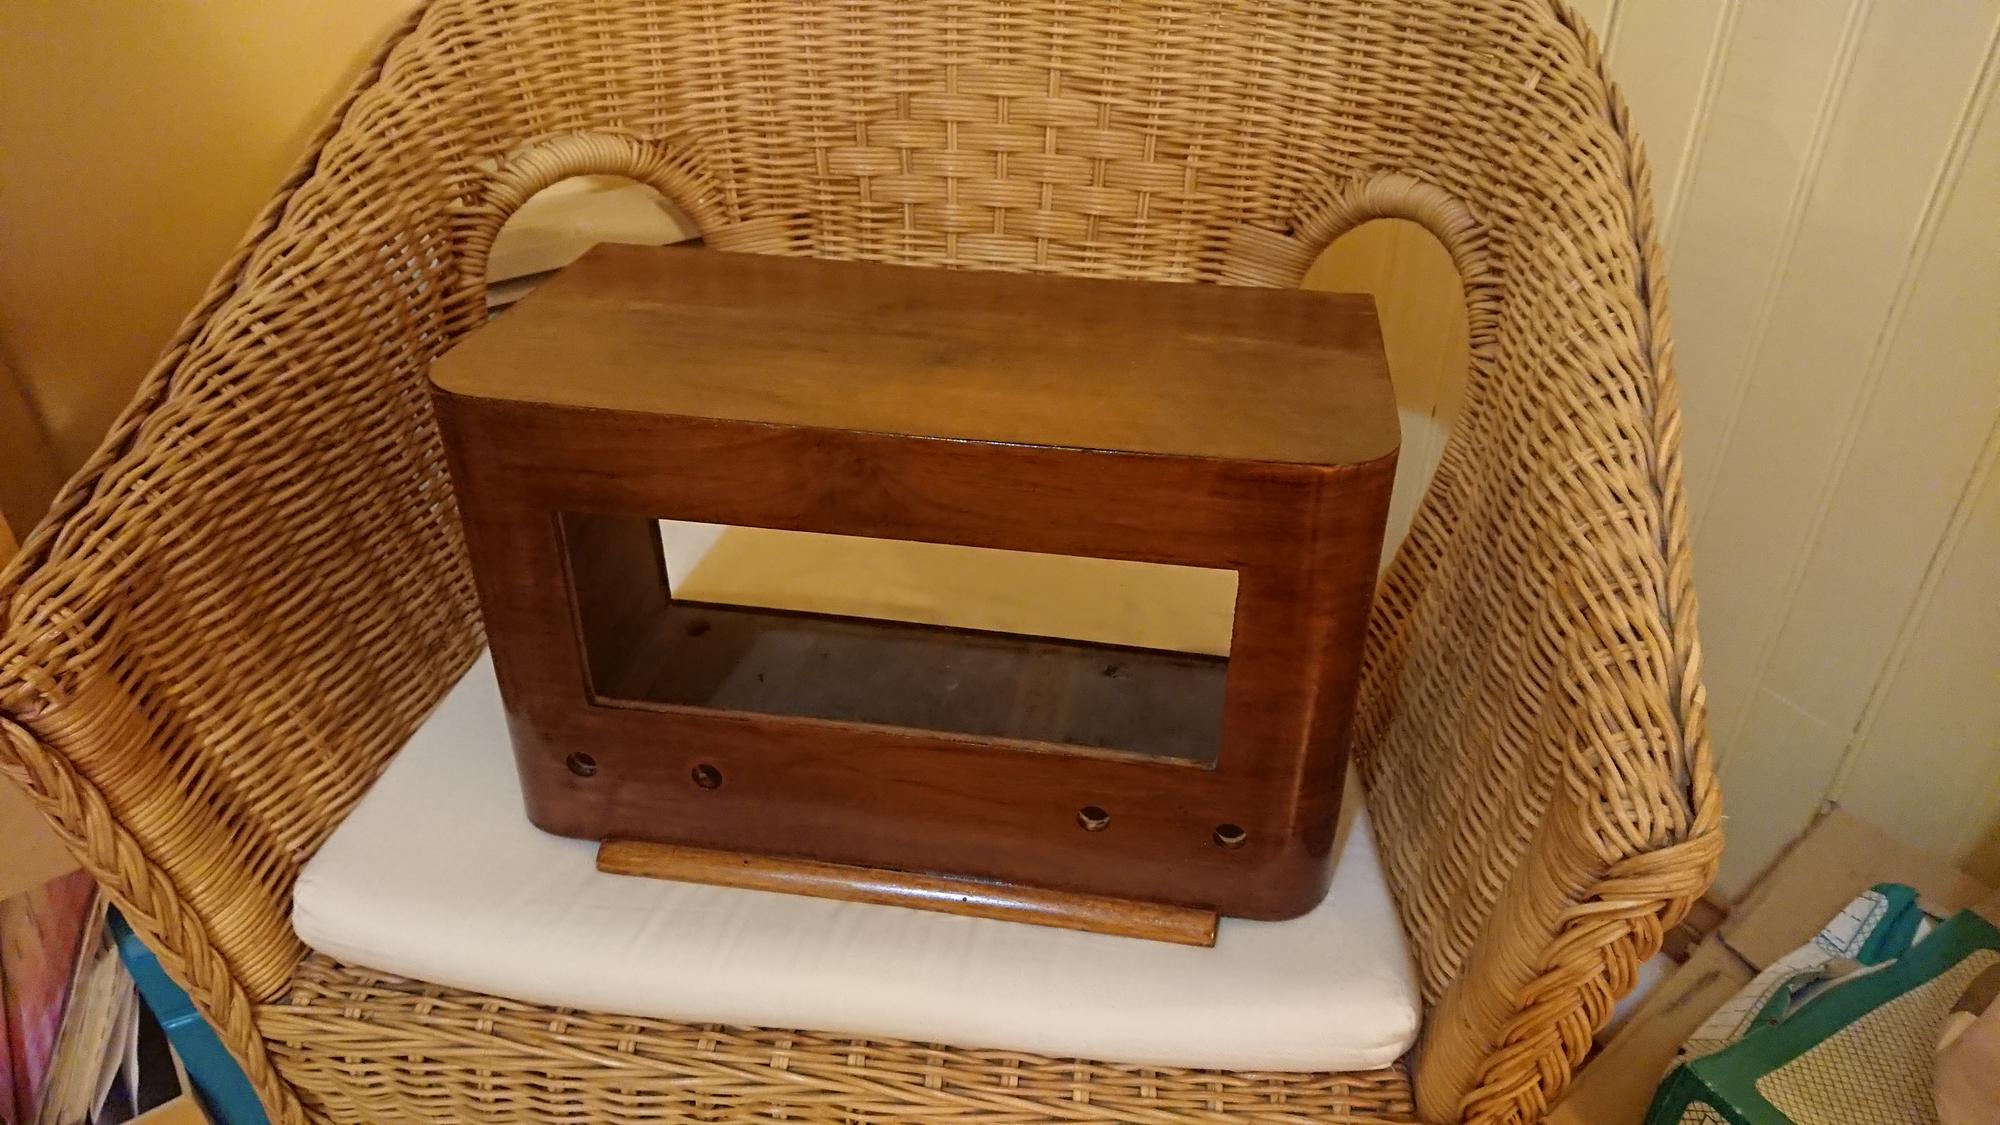
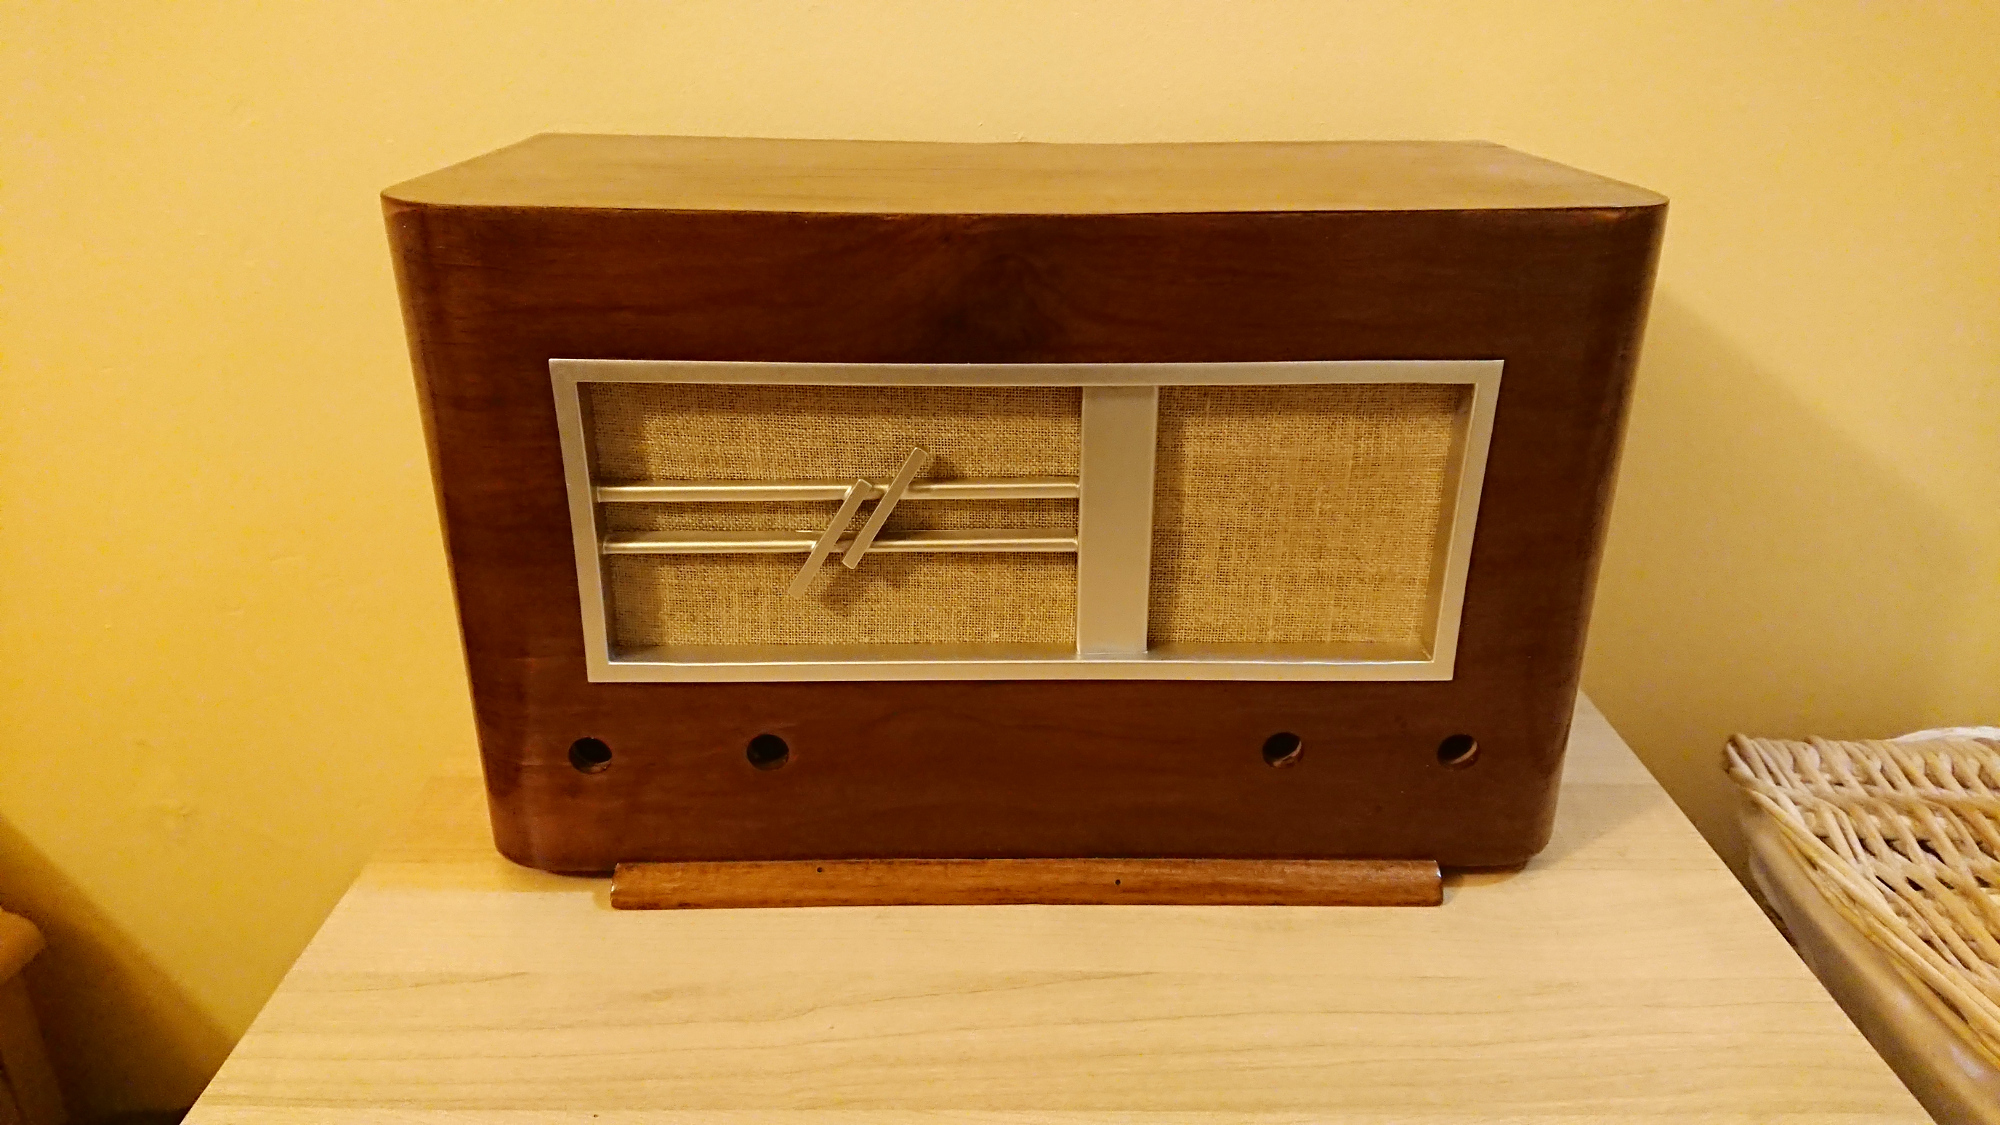
After some work on the cabinet itself, the wood looked much better:
But the original radio had a cloth and a grille to hide the speaker, so there was more work to do on the front side.
The circular station indicator was too damaged to be used, which is why the internal chassis I built does not include room for it.
The grille
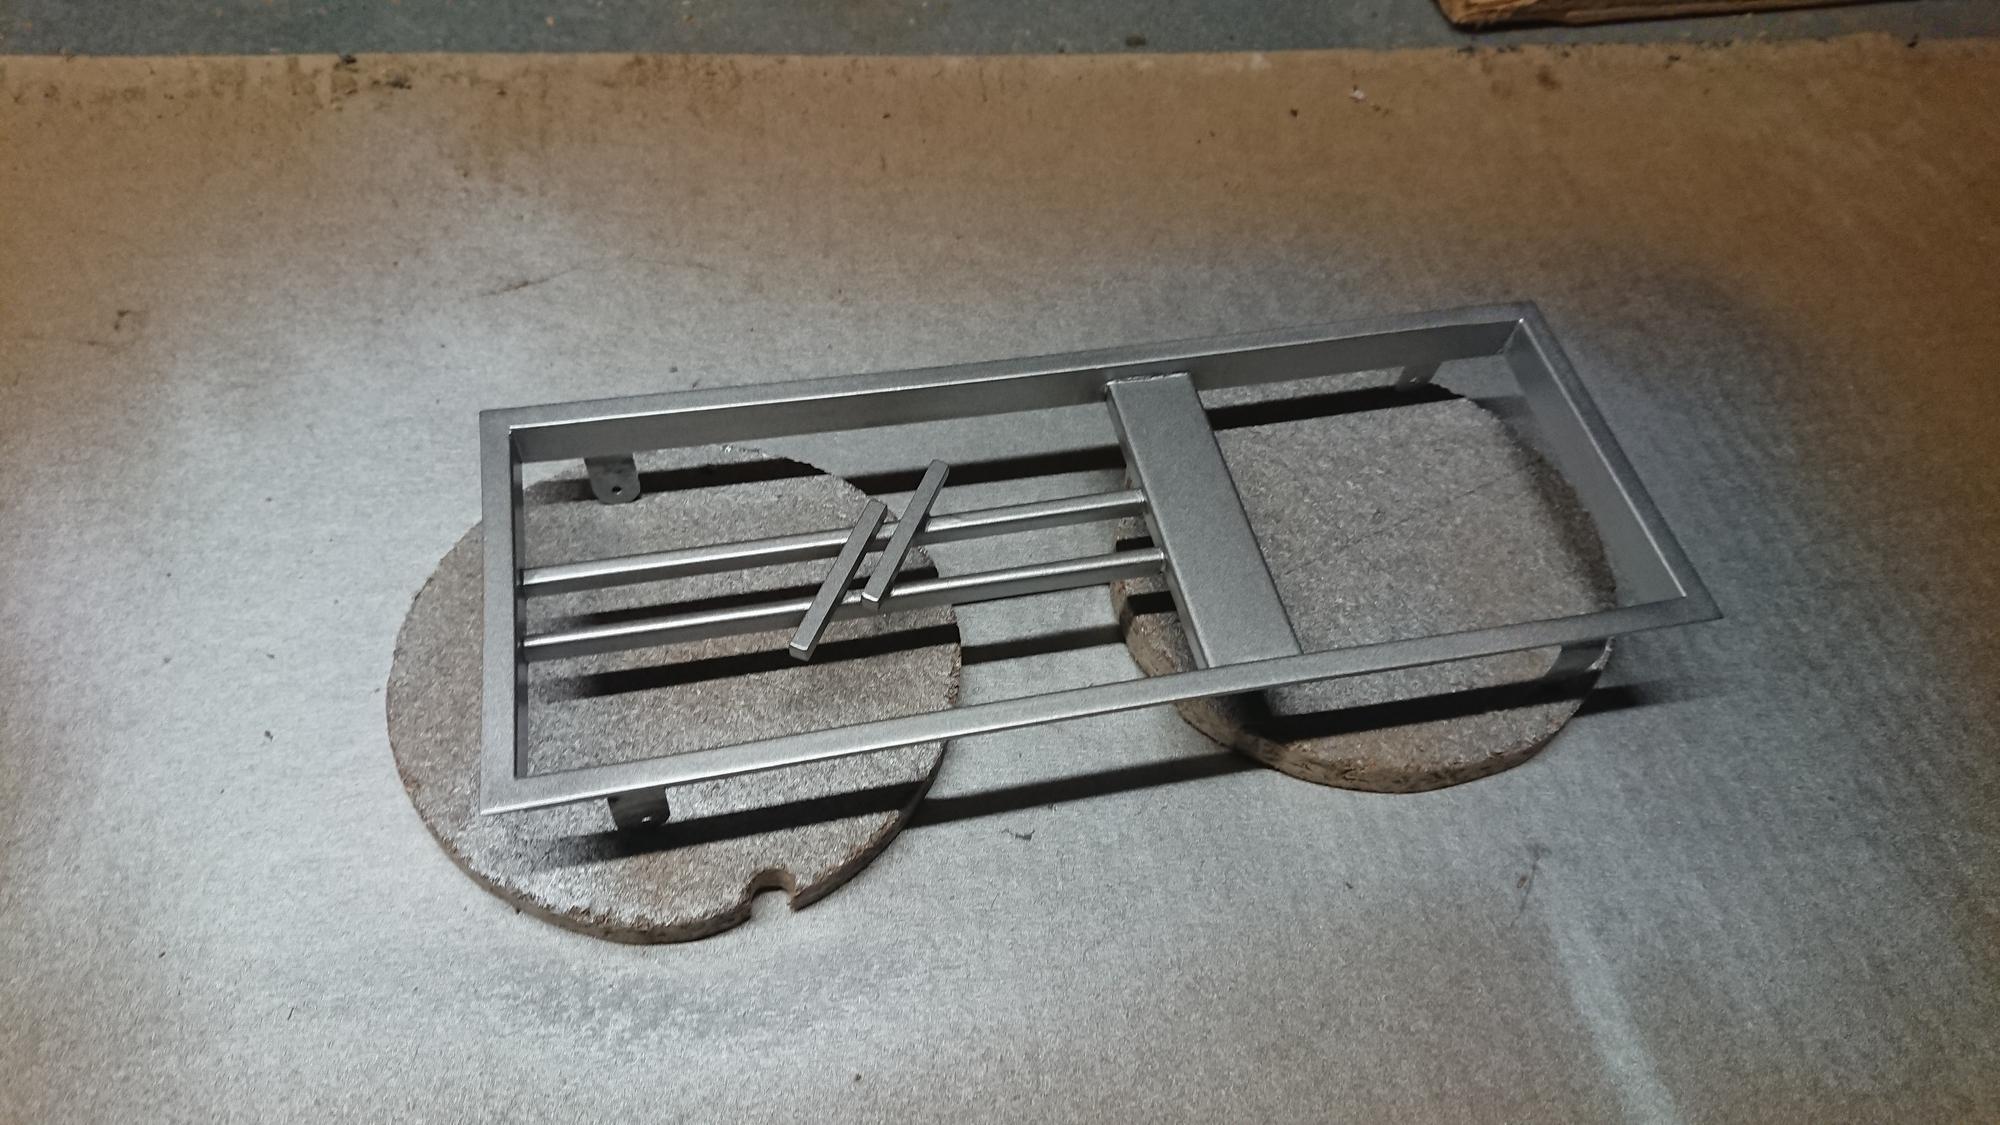
I originally thought the metal grille was too damaged as well, and planned to build one with wood, but decided to try to save it nevertheless since I prefer to re-use as much of the original material as possible.
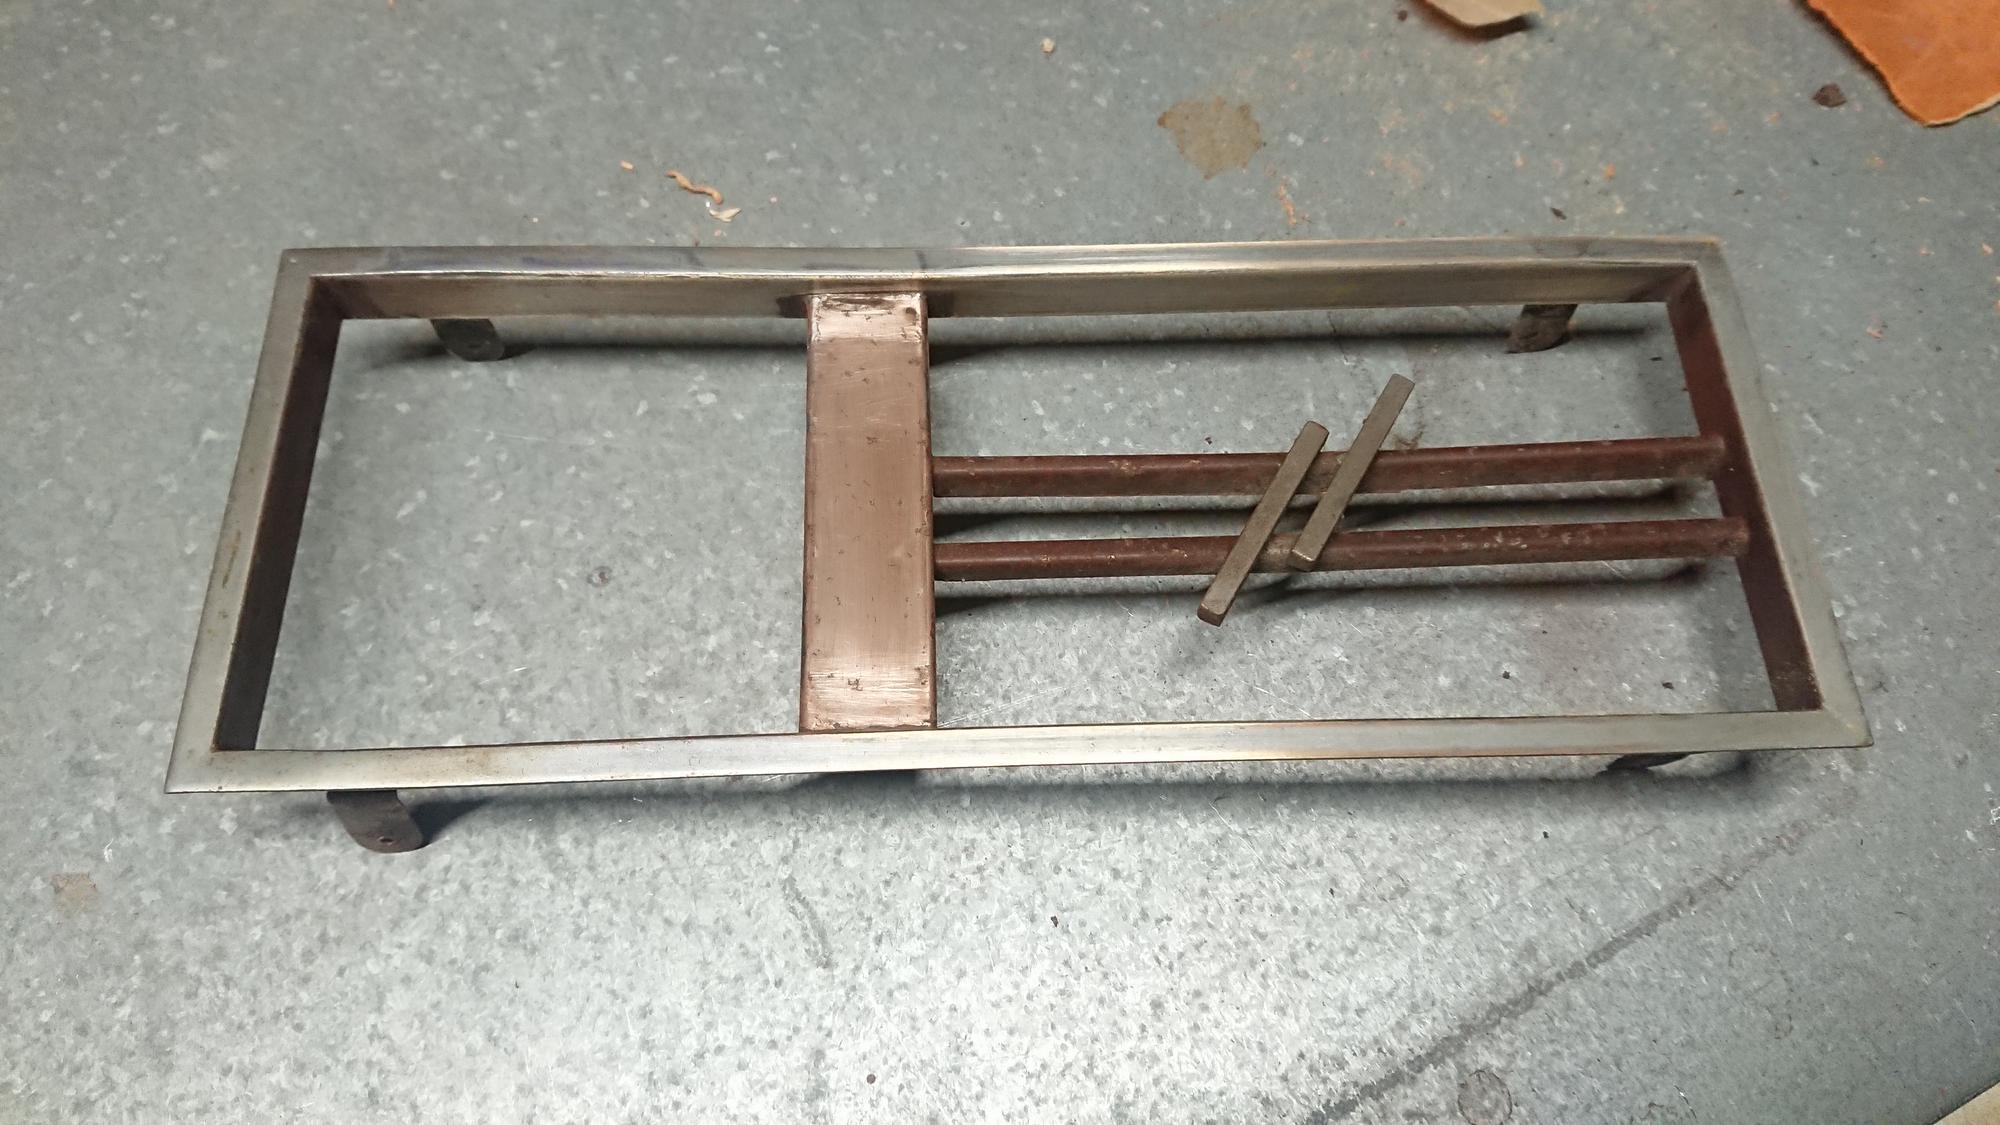
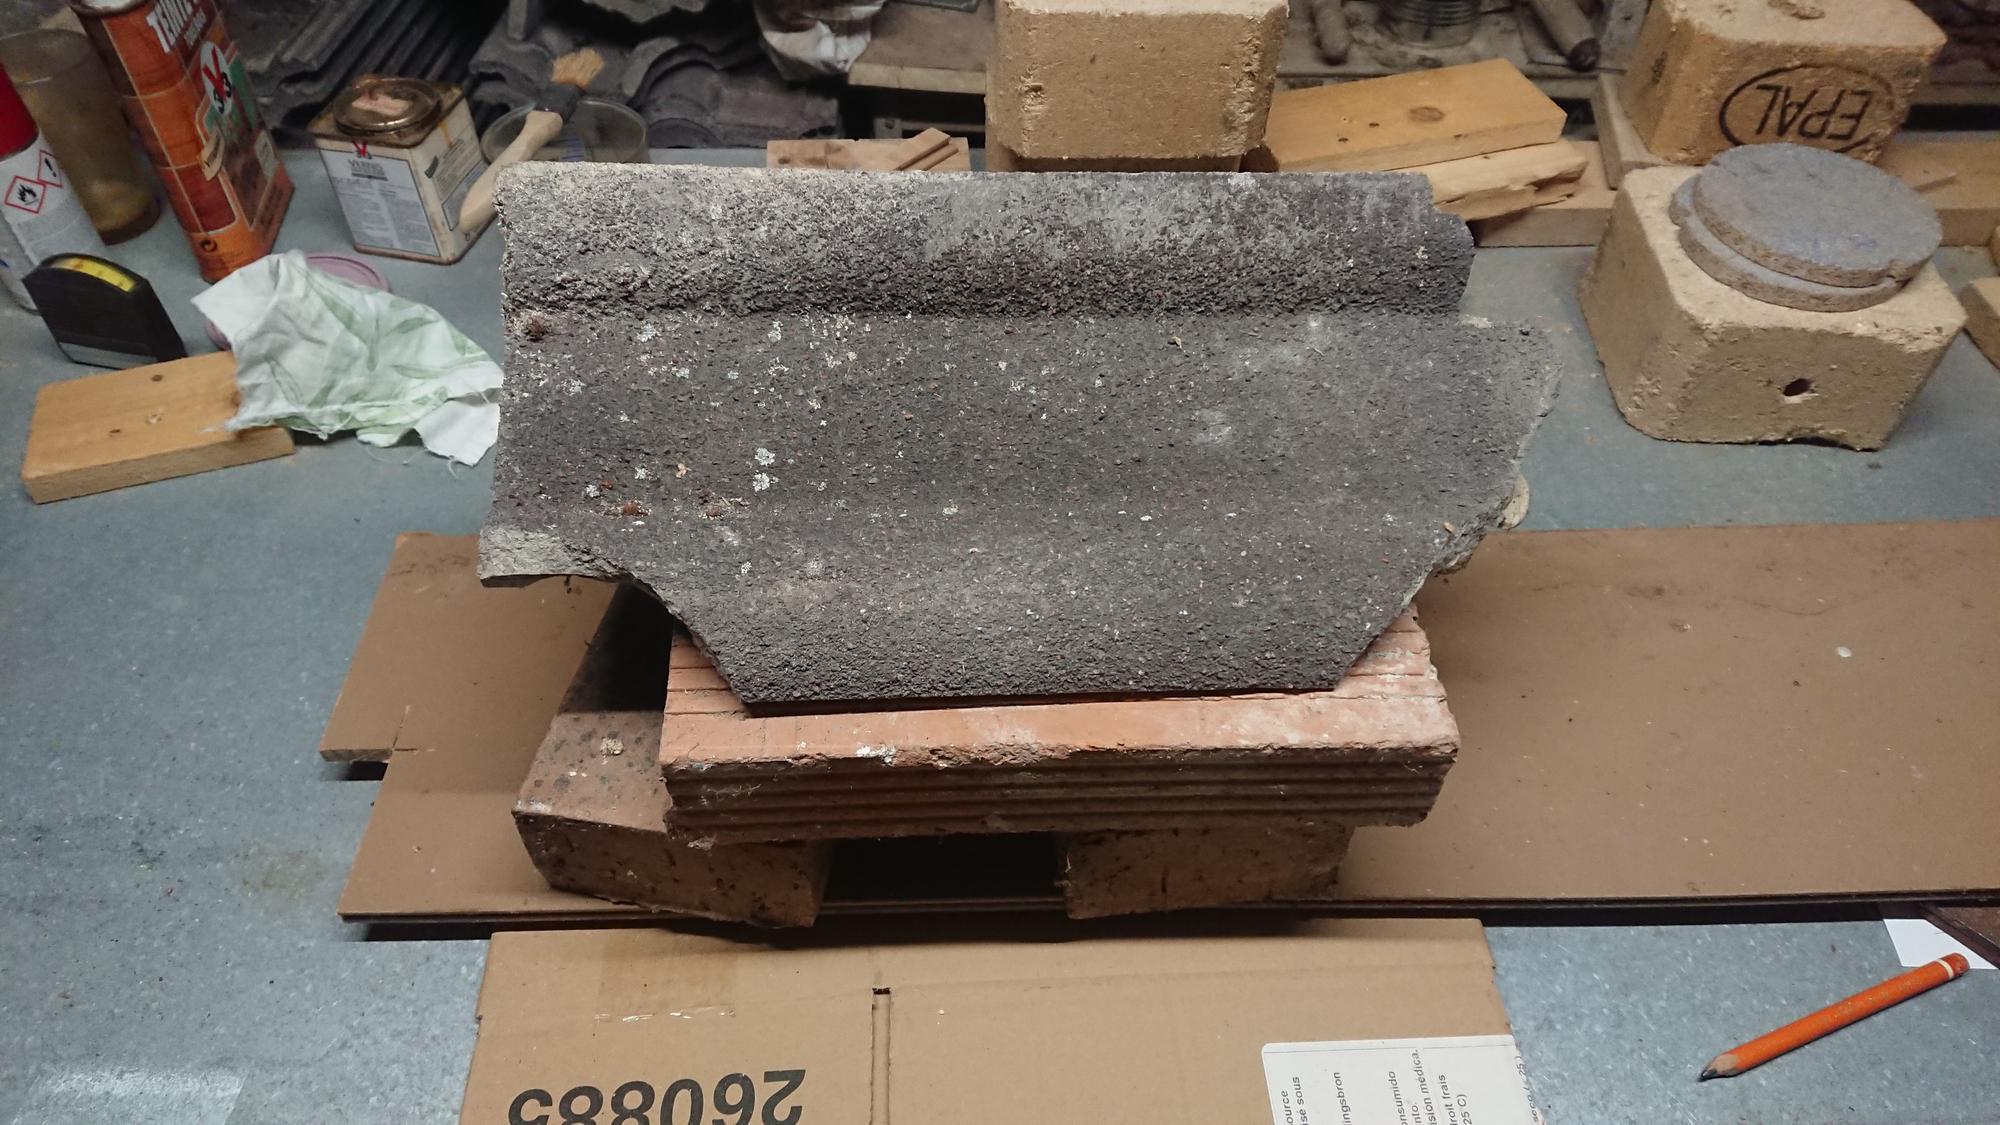
Some thorough sanding and two coats of gray paint gave it a nicer appearance:

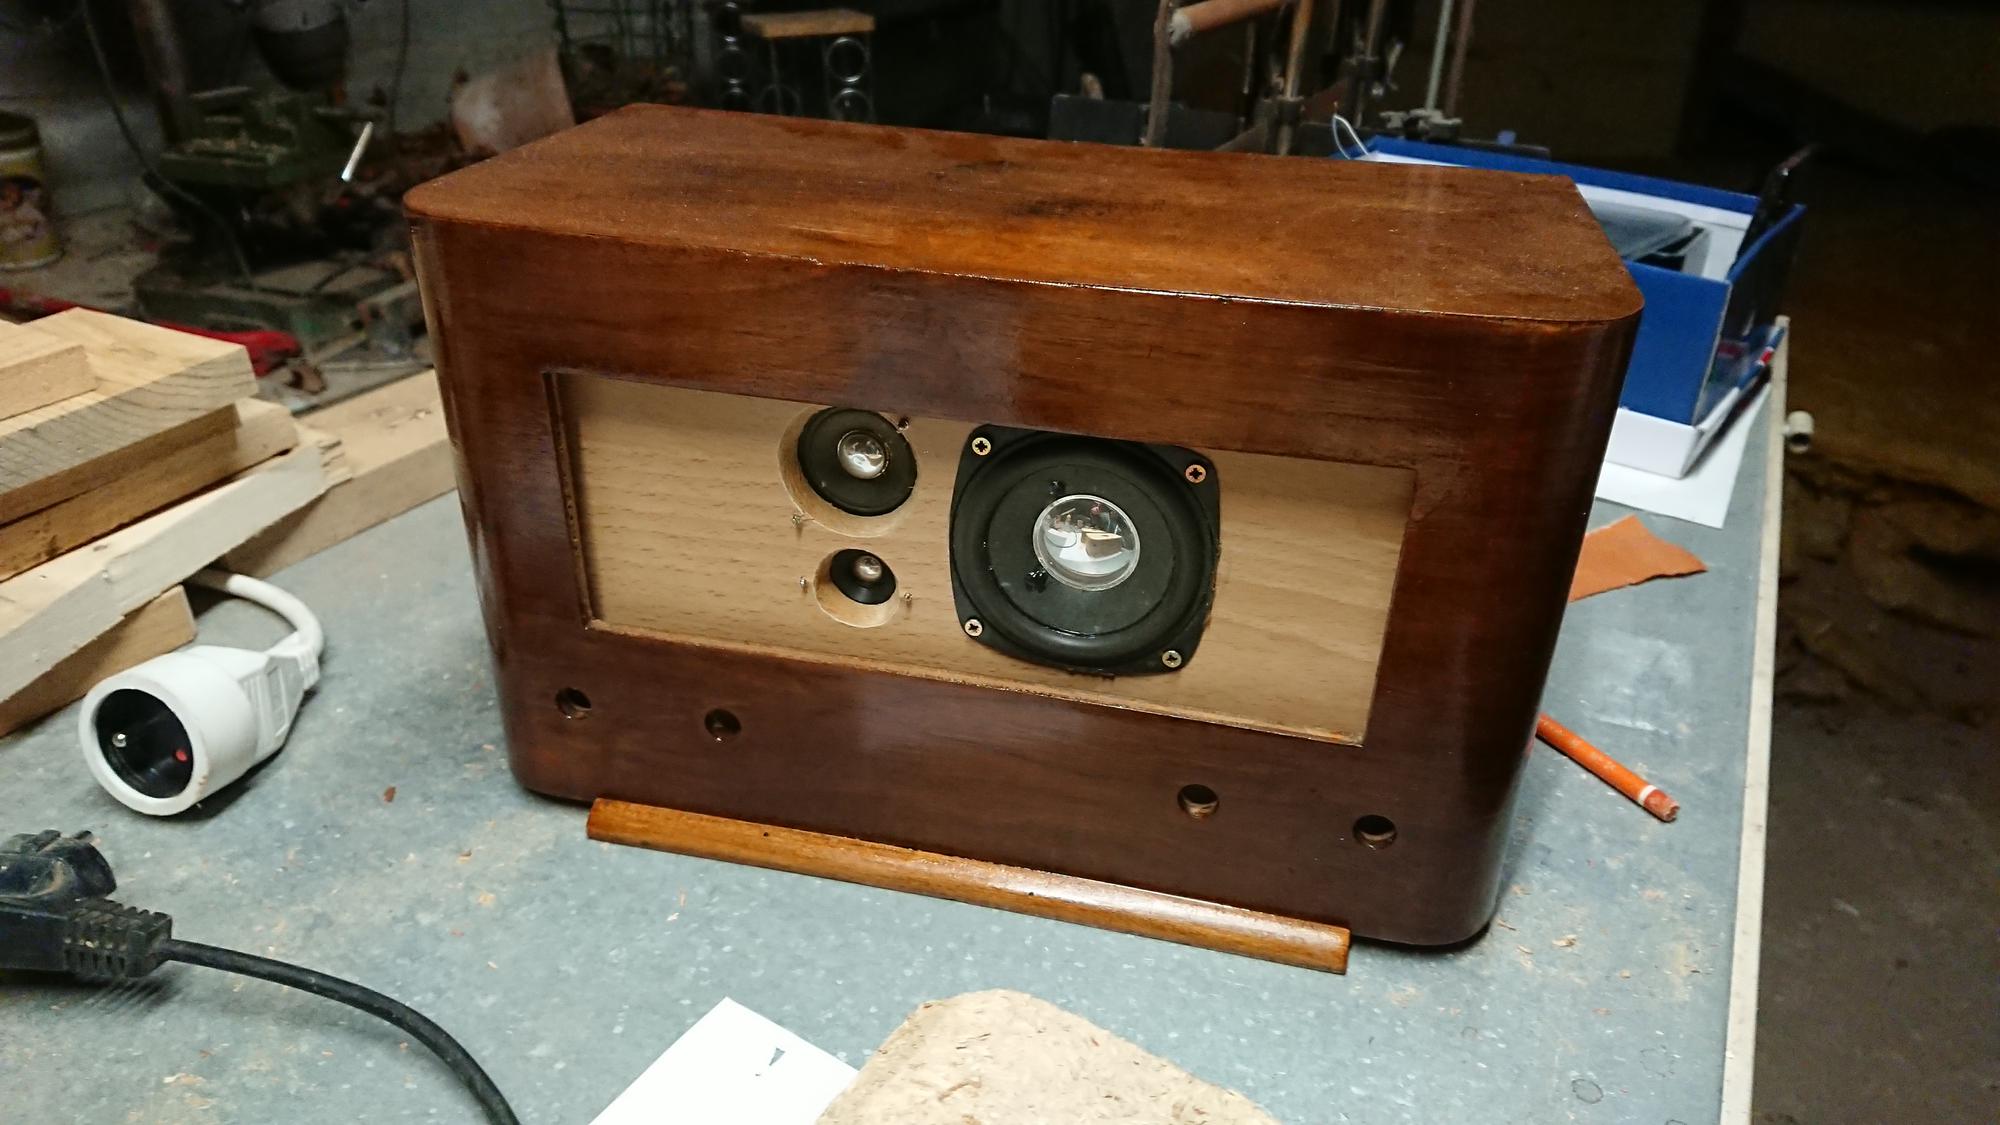
I then installed it in the cabinet and inserted behind it the cloth I intended to use to cover the speaker. I wanted to check if it looked OK, as I was not confident the grey would fit well with the wood of the cabinet.

I was pleasantly surprised with the result. No need to build a custom grille!
The grill cloth
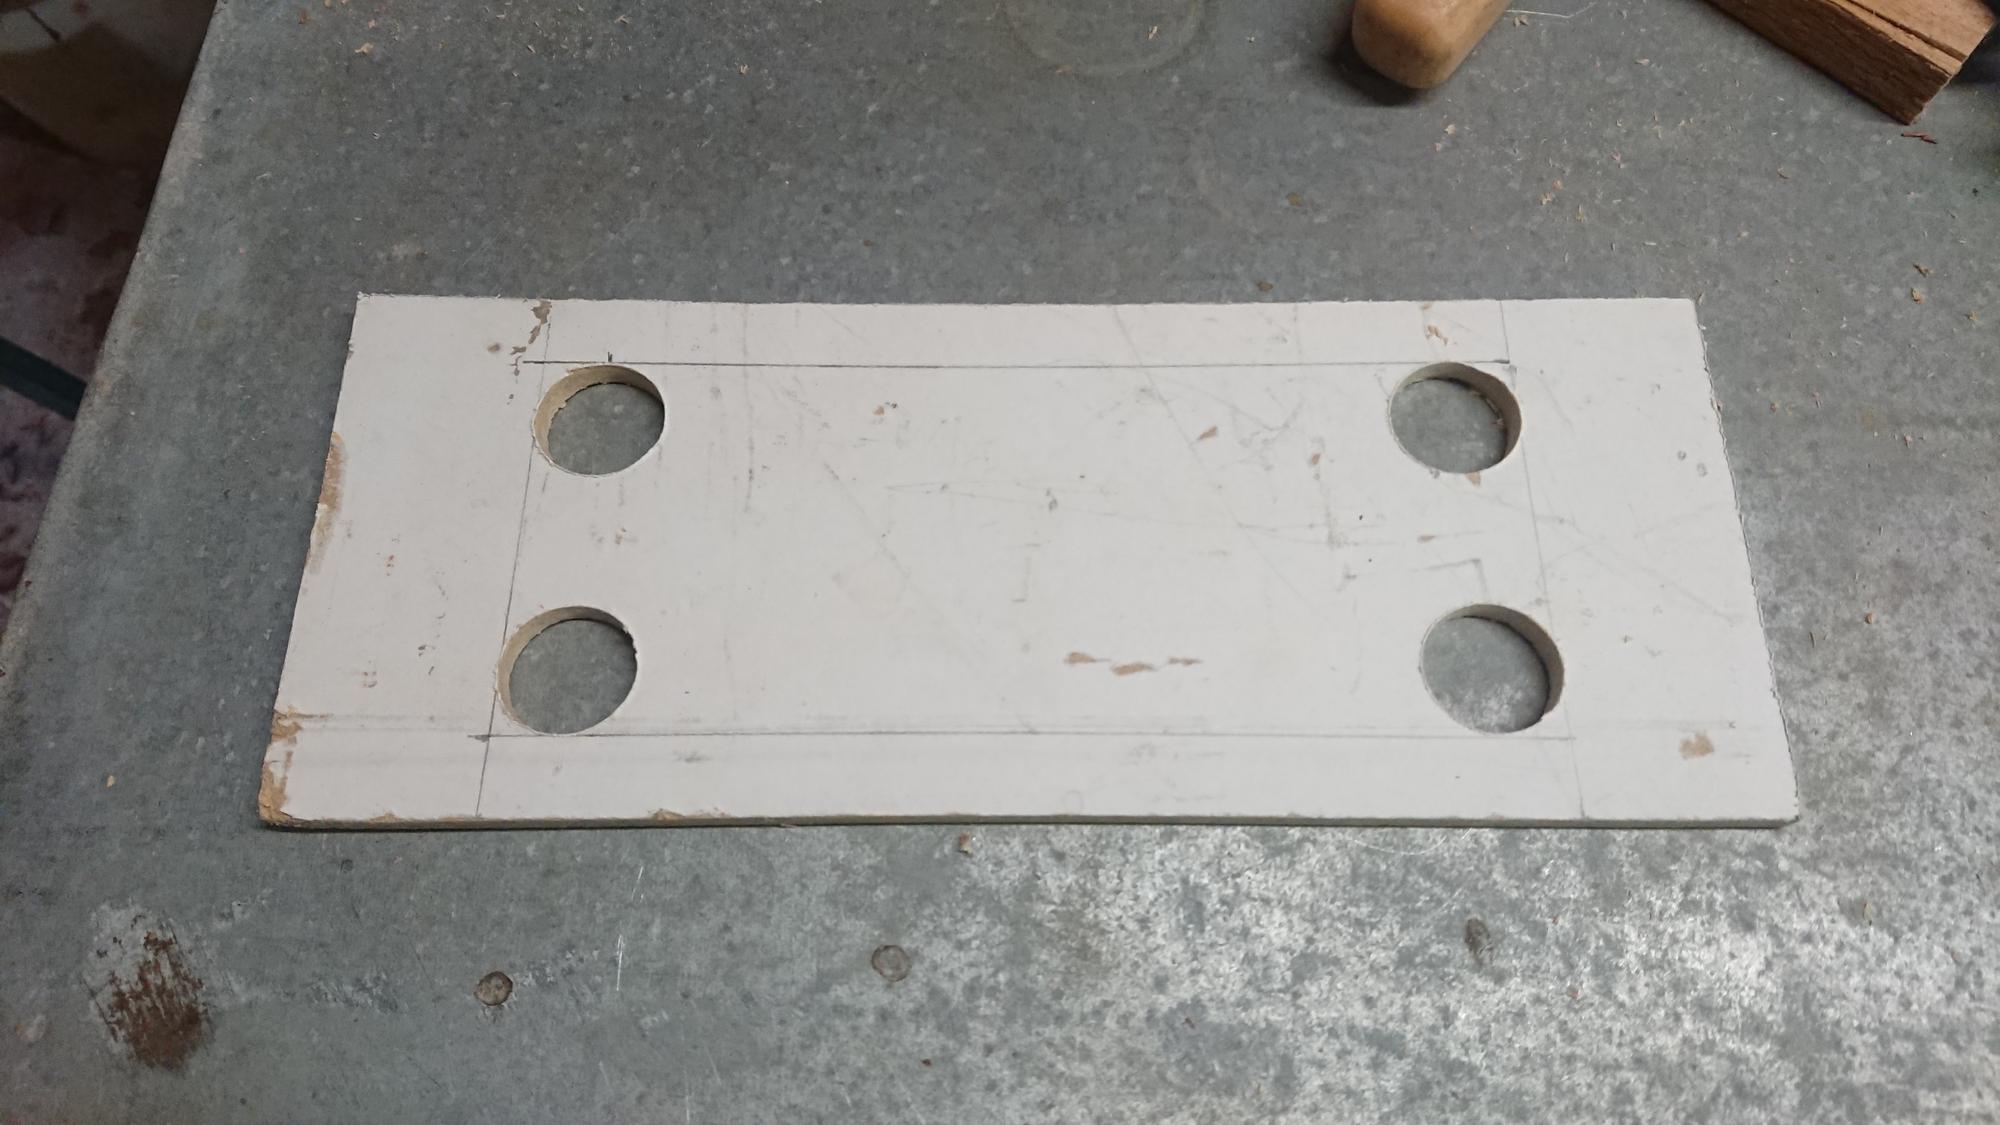
Now it was time to really install the cloth I tested the grille with. To do so I cut a piece of wood to create a frame on which to glue the cloth:

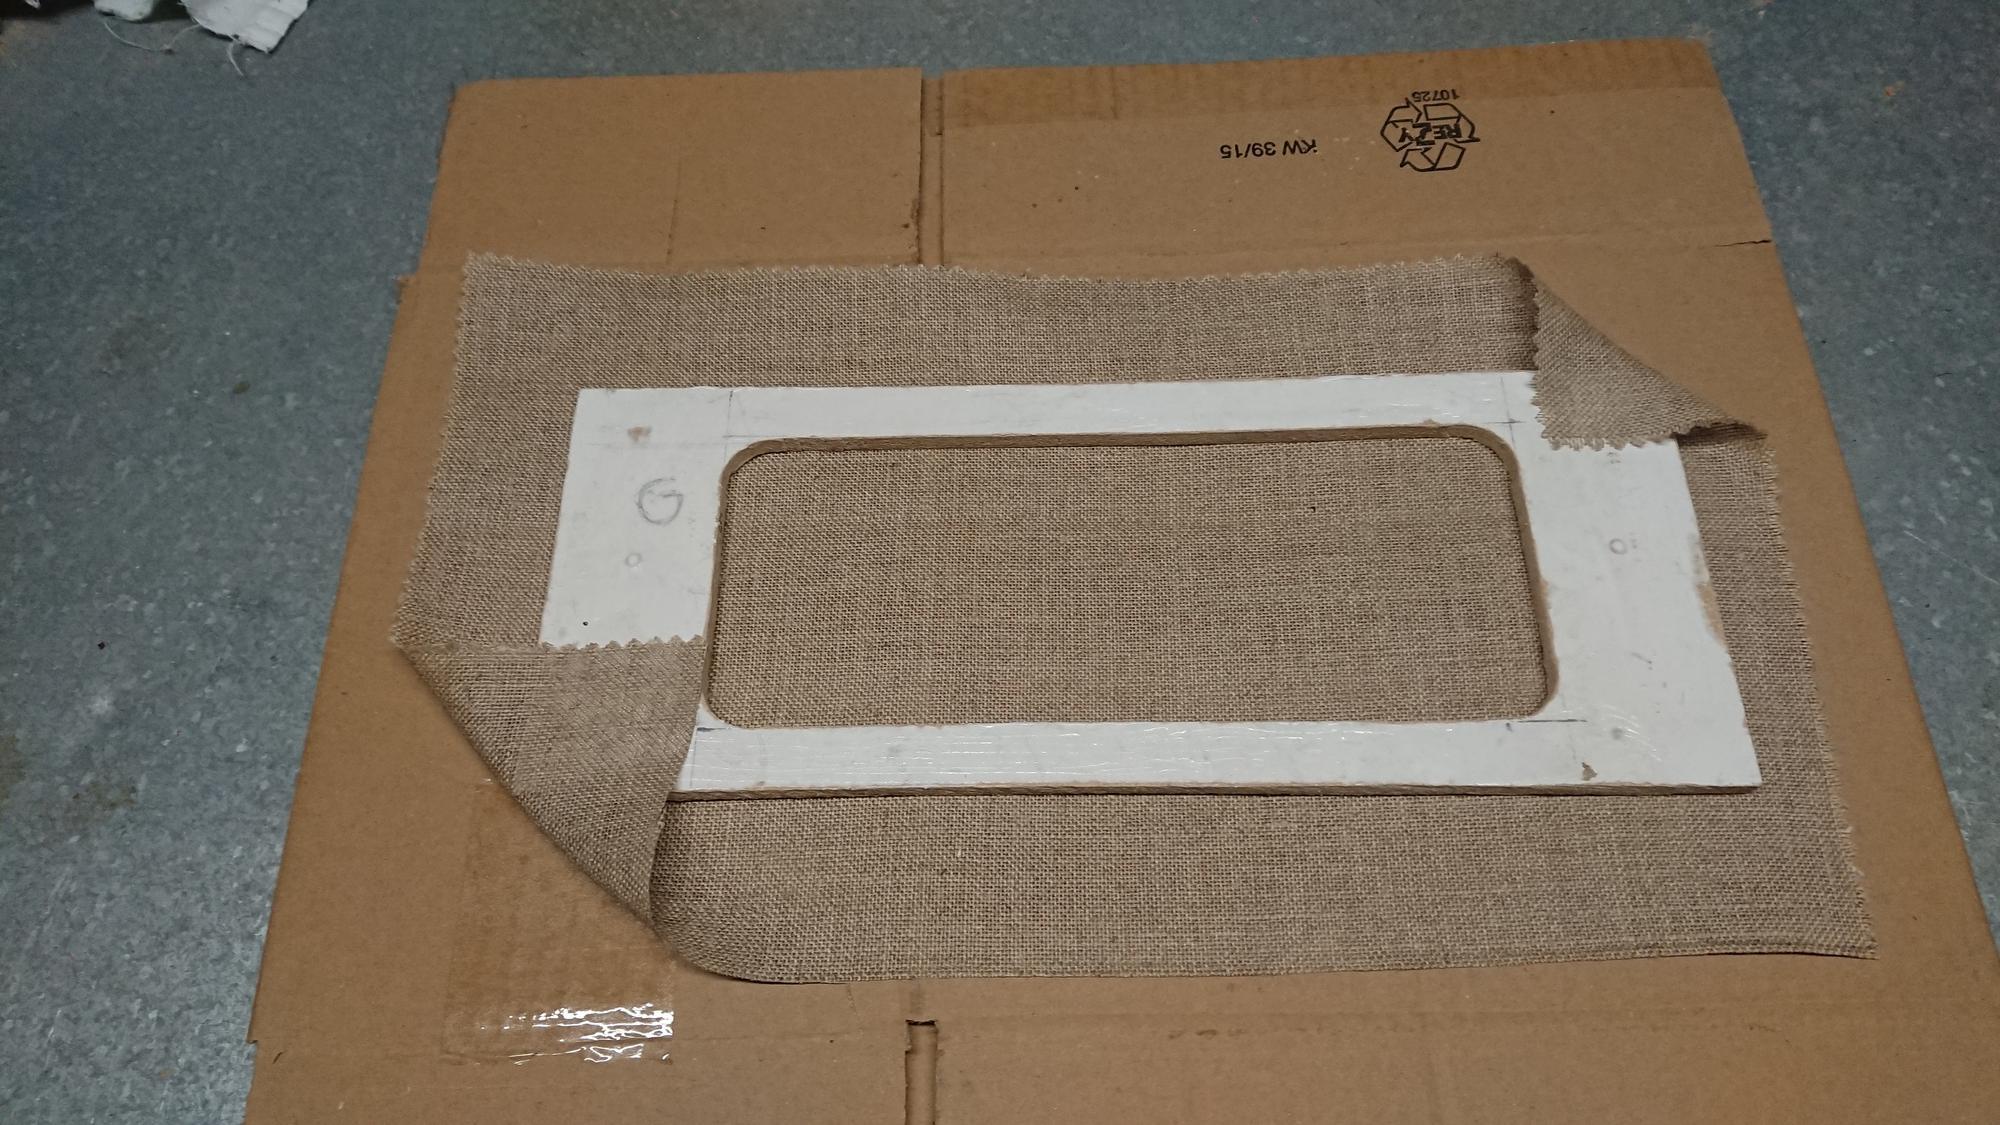
Time to glue the cloth on the frame:

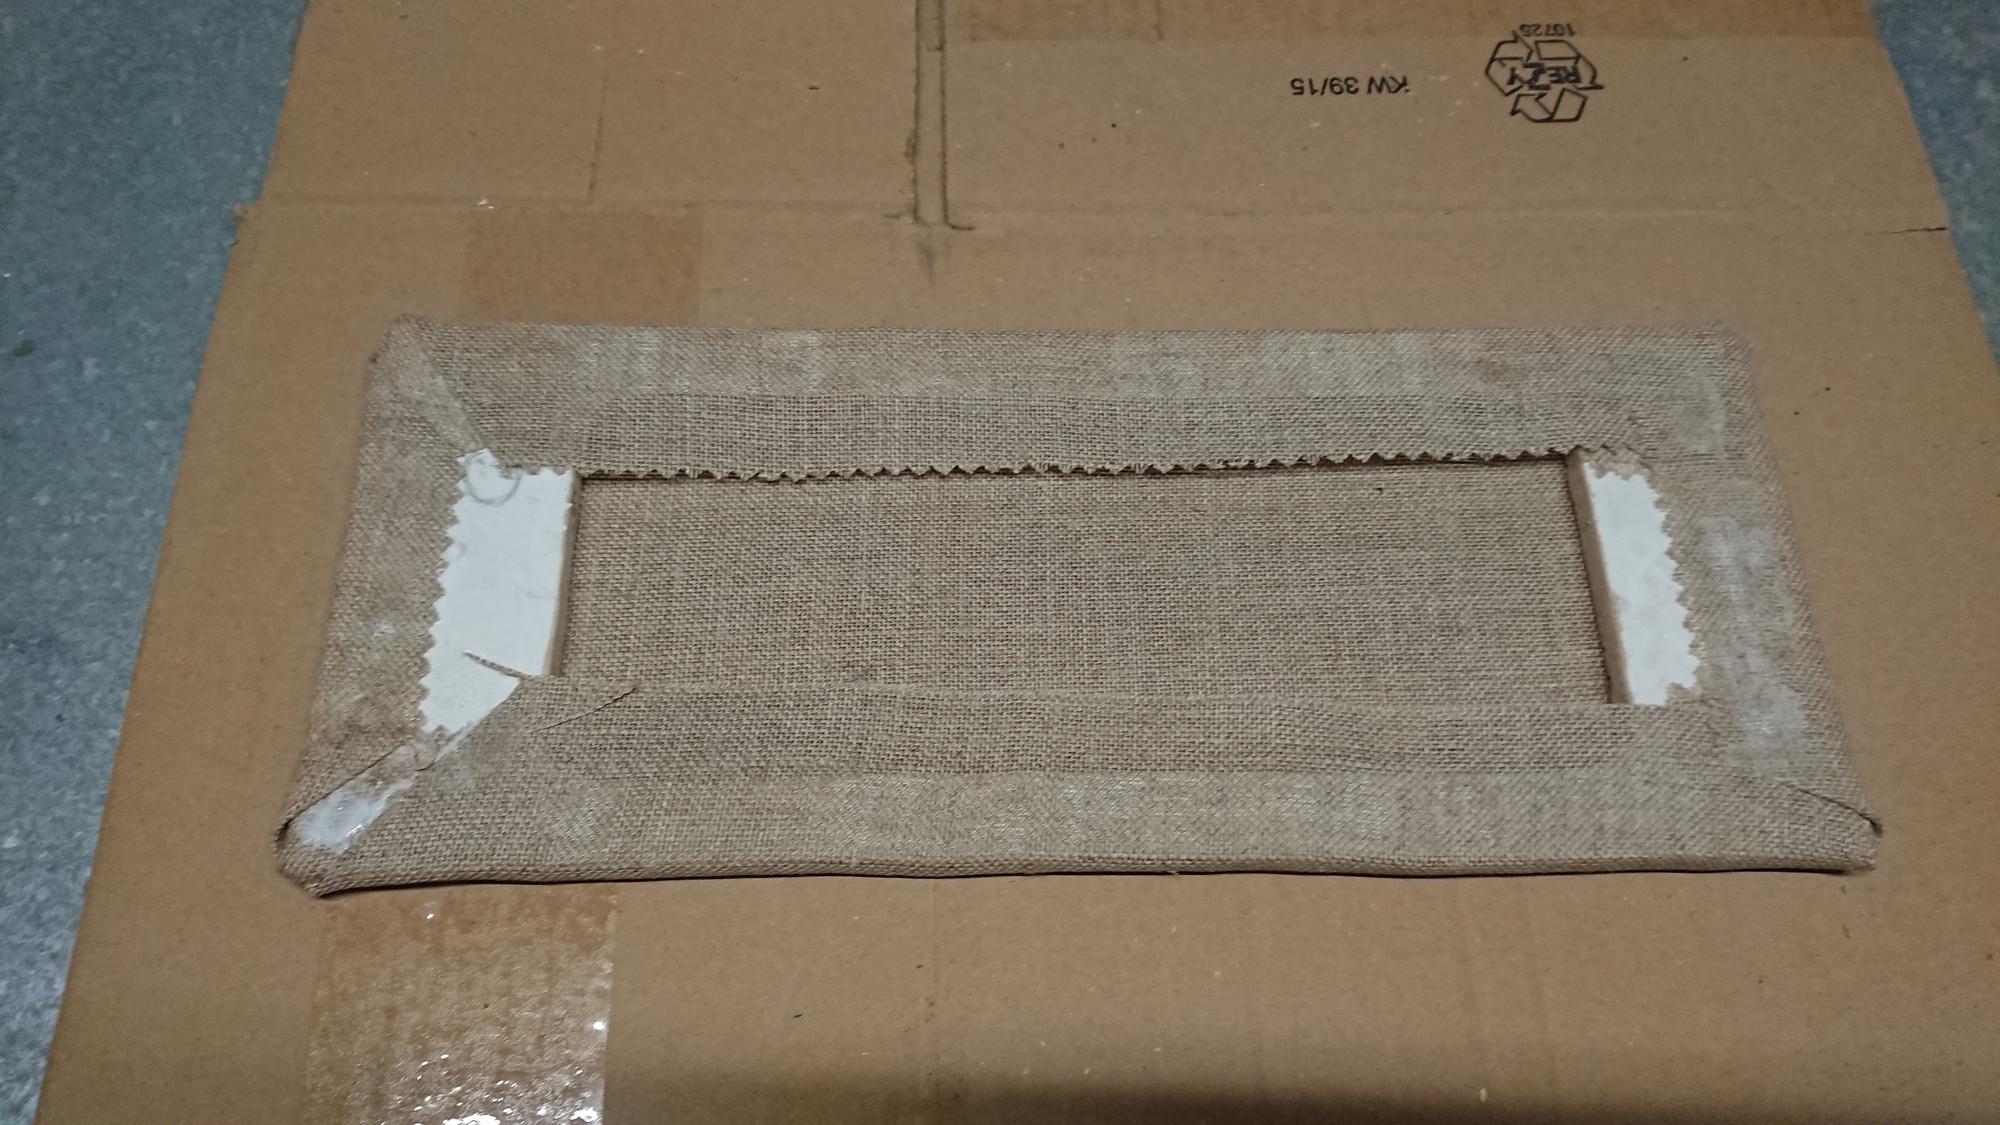

Overall this went well, and I am happy with the result. Now I need to fill the holes left by the original knobs under the grille. I plan to install a power+volume knob and a play/pause button on the left side, then previous & next buttons on the right side. I "just" need to find the right buttons on the Internet :)
Ideally I would like to paint them using the same gray paint I used for the grille, but I have no idea if this is doable, we'll see.
Next article will tell another attempt at getting the electronics work as expected, stay tuned :)