Bluetooth Speaker part 5 - Electronics, take 3
written on Sunday, March 8, 2020
This article is part of a series on creating a Bluetooth speaker from an old vacuum tube radio and spare parts I had lying around in the house.
- Part 1: Introduction
- Part 2: Attempting to update the audio hardware
- Part 3: Using an existing Bluetooth speaker
- Part 4: Frontend work
- Part 5: Electronics, take 3
If you remember well, my first attempt at electronics for this Bluetooth speaker project was using an all-in-one Bluetooth + amplifier board. It did not go well, so I tried to use the guts of an existing Bluetooth speaker instead. That almost worked, but I experienced stability issues I was not able to solve :(
This article is about the third attempt: following the instructions from the Radio Workshop (which I mentioned at the end of part 3) to get a working Bluetooth + mono amplifier (hopefully).
Assembling
The original instructions from the Radio Workshop connected everything using heat-shrinking tubes, but I felt it would be more robust and cleaner to use some prototyping circuit boards to hold all components together.
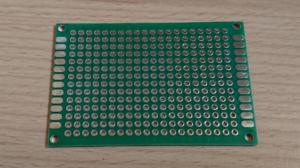
I made a mistake when I ordered the boards though. The ones I received look like this:
I later discovered these kinds of board are meant to be used with connectors like these to create circuits:
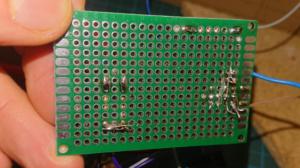
Since my boards did not come with any connectors, I add to resort to connecting my components using loads of solder, the remainings of resistor pins and a good deal of cursing! Live and learn, they say. For sure I am learning a lot with this project...
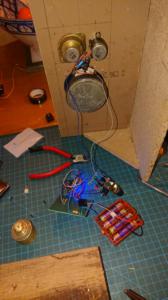
Here is the circuit, connected to the speaker:
The connecting mess on the back side:
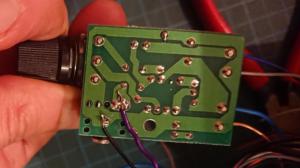
And the hackish connection between the Bluetooth receiver and the amplifier:
Testing
After all this it was time to test it... Does it work?
Short answer: YES, mostly!
Long answer: as you can see on the circuit picture, I powered the circuit using AAA batteries from one of my son toys, but I would prefer to power it using either an USB plug or an USB battery. Unfortunately, when I tested this it caused crackling sound. I suspect either the amplifier or the Bluetooth receiver are a bit sensitive to power variations.
I assume this can be fixed using a capacitor to clean the output of the power supply, but in the worst case I'll just use a set of rechargeable AAA batteries, so at least this is not a blocker. Any suggestion on this topic are very welcome!
Wood support
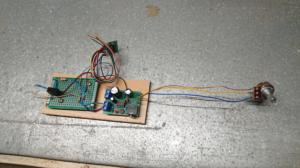
To make the circuit less messy and less prone to breakage, I mounted it on a small piece of wood:
The volume potentiometer is not on the amplifier board anymore, I desoldered it and inserted wires between it and the PCB to be able to mount it on the front side of the radio.
I had to drill holes in the circuit board since none of my screws would fit the tiny corner holes... I left the Bluetooth receiver hanging as there was no room to drill any hole in its board :)
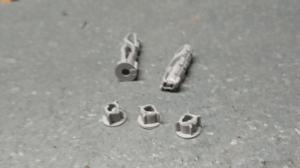
Since there need to be some room between the boards and the support, I hacked some spacers by cutting the top of 3 ribbed anchors:
What's next?
Next article is going to be about mounting the buttons to the front side. It's taking way longer than expected, but I am getting there!
